How To Use a Chartplotter: Full Beginner's Guide
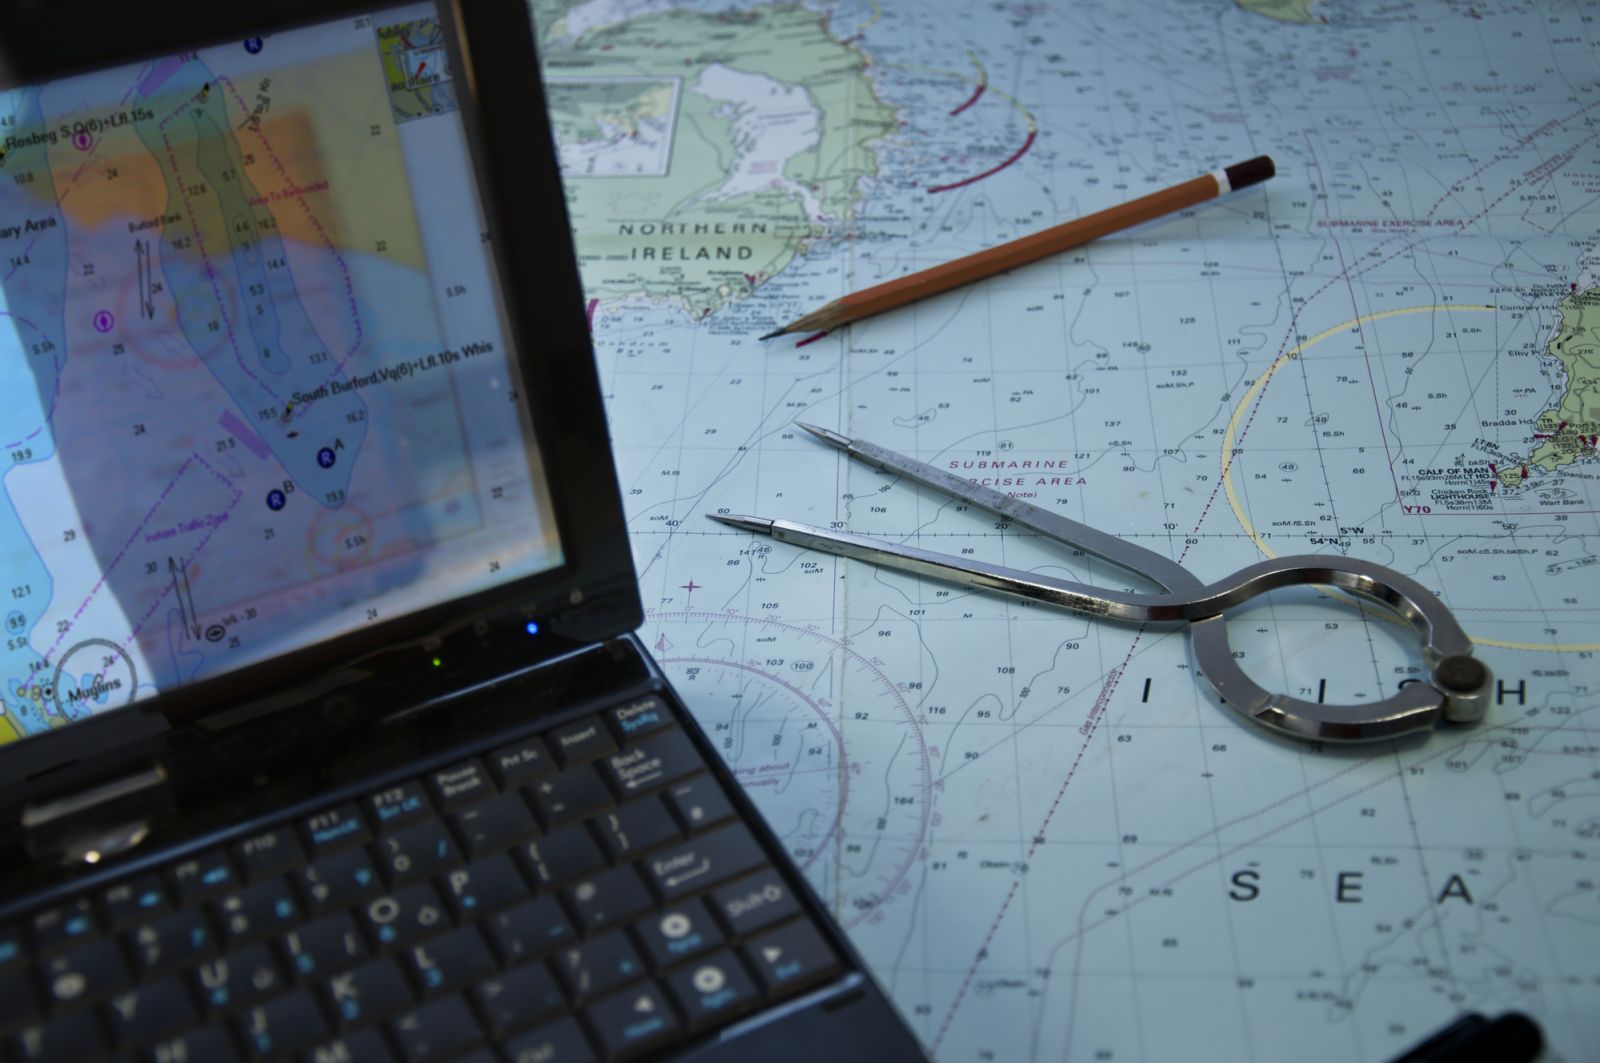
When you're getting ready for your first sail to go some place, it's time to think about plotting a course. You can plot a course on paper, but most sailors today use a chart plotter for planning courses and navigating them.
For the beginner, a chartplotter is a quick and easy way to navigate. It helps if you understand how to read charts and navigate, and you should start there. But if you've got a chart plotter on board already and you're learning to use it, or if you're planning to add one, we'll get you started with the basics.
On this page:
What is a Chartplotter?
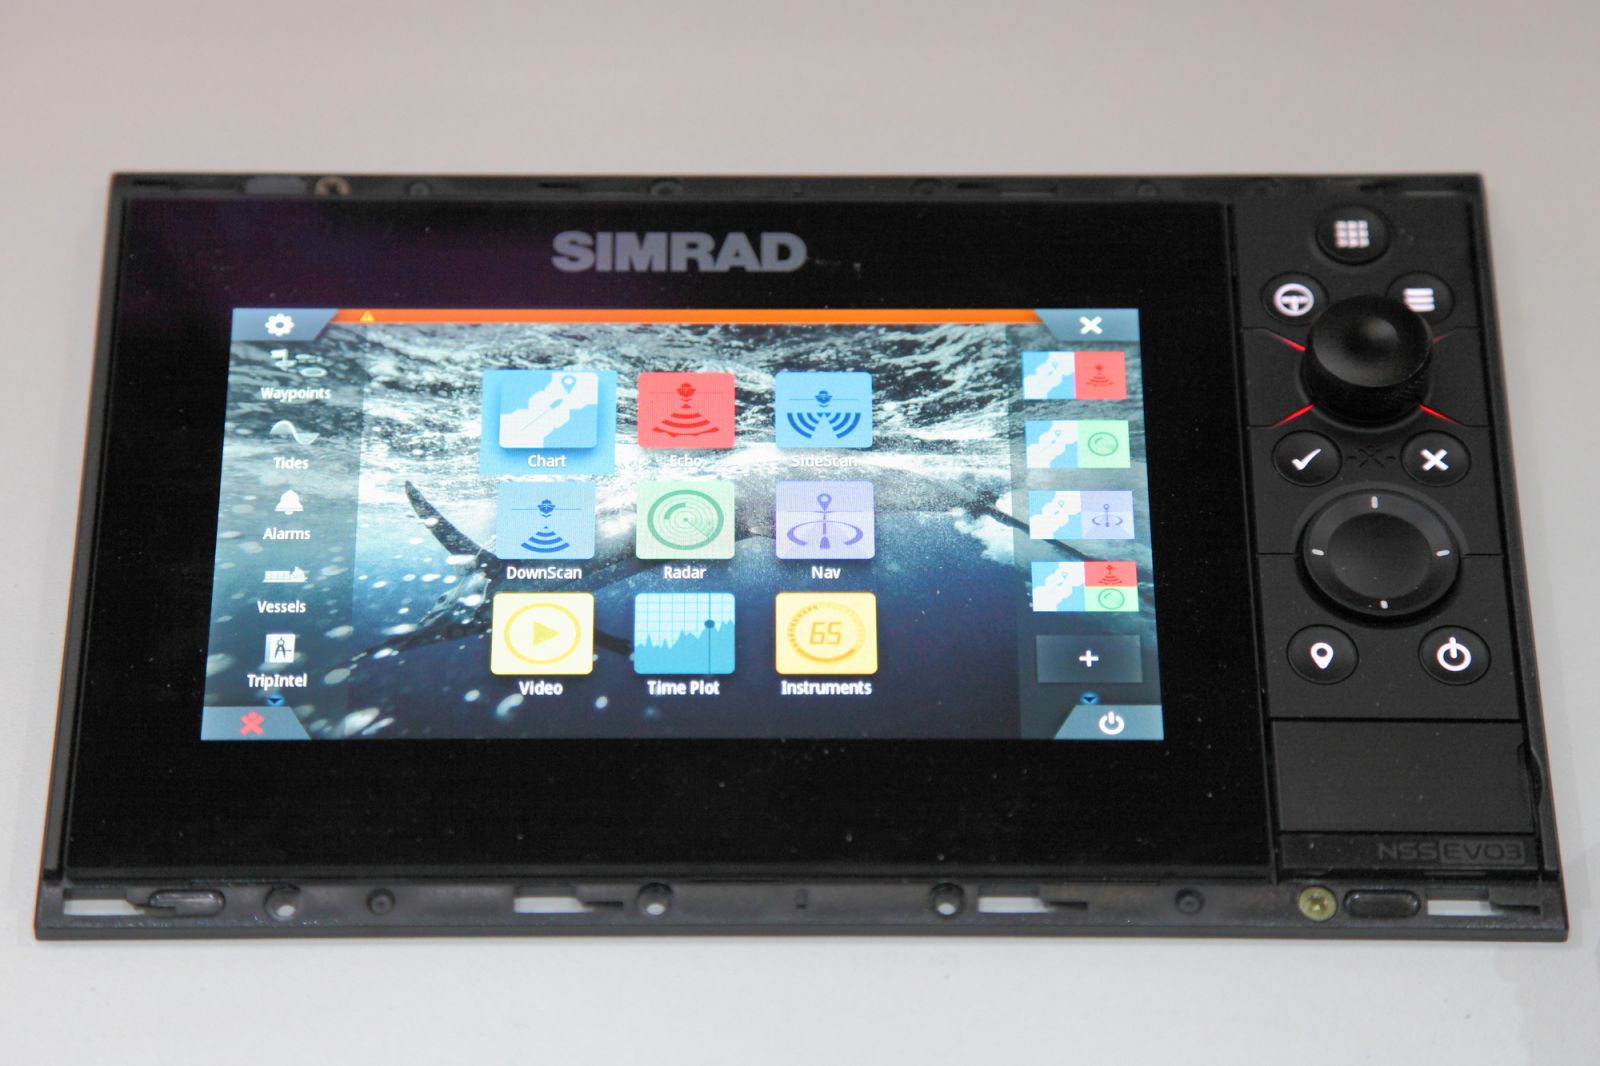
A chartplotter is a device which displays electronic charts and allows the user to plot courses and navigate them. These range from handheld GPS devices like the Garmin GPSMap 76sc, to fully functional and expensive multi-function displays like the Furuno TZtouch3 or Garmin GPSMap 8600.
A handheld chart plotter like GPSMap 76sc allows you to install charts and plot courses while keeping your ship's position on the chart with an internal GPS. The multi-function chart plotters rarely have their own GPS or transducers, but integrate with all the ship's instruments, RADAR antennas and autopilots to show a full picture of your navigation, along with the installed charts and the courses you plot.
A chartplotter at its simplest:
- Displays electronic chart data.
- Allows the user to plot waypoints and courses.
- Uses GPS fix data to follow the plotted courses as you navigate.
Some advanced functions in some chartplotters include:
- Display RADAR overlays on charts.
- Show AIS data about nearby vessels.
- Give proximity warnings based on AIS and RADAR targets.
- Send navigation information to autopilots for automatic course steering.
- Display data from the ship’s instruments and transducers.
- Show images from regular and FLIR (infrared) cameras installed on board.
- Repeat data through the ship’s network to other systems.
- Show tide and current data from nearby stations.
The specific features of your plotter will vary with your choice of brand and your budget. If you're shopping for something new, a multi-function chartplotter will form the core of your navigation system. You need to pay close attention to what instruments you already have and how they may integrate with the plotter.
Learning to Use Your Chartplotter
Unfortunately, a general article on how to use a chart plotter is a bit like trying to teach a course in how to say hello and good morning and carry on polite conversation...in every language in Europe at once. With the broad array of chart plotting hardware and software on the market, detailed instructions for Furuno won't make sense when using a Garmin plotter.
Instead, we'll focus on the key functions of the plotter, which are all the same, and the important skills you need to have to use your chartplotter effectively.
Step One - Learn Navigation
A chart plotter is a tool for navigation, and if you do not understand the basics of how to navigate a boat safely, a chartplotter will not help. Chartplotters make navigation a lot easier, and you don't need to master more esoteric parts of navigation to plan a safe, fun outing for a weekend with your family or friends. But you need the fundamentals.
Start with these articles to begin your navigation instruction. You needn't get out a paper chart and rules and pencils to follow along (unless you want to!), but you will get the basics down. The first article is a good introductory overview, followed by several deep dives into important concepts.
- How To Learn Marine Navigation (Easy In-Depth Guide)
- Nautical Chart Types Explained
- Ultimate Guide to Nautical Chart Navigation
- How To Plot a Course on a Chart
Once you understand how to plot a waypoint and create a course, you'll be ready to use your chart plotter.
Step Two - Learn Your Plotter
Different equipment vendors develop different user interfaces for their hardware and software, and they often use different names and abbreviations for the same things. One chartplotter might display the course you need to sail as "Course to Steer" or "CTS", but another brand may call it "Bearing to Waypoint" or "BTW." Another chartplotter may let you create a waypoint by tapping twice the screen. An older model may require you to navigate the cursor to a spot on the screen and push a button on a control pad, or even make you enter coordinates. It's the same thing, but a different dialect.
You need to figure out how to perform functions that are common across all makes of chartplotter, but may be executed or named differently on yours. It's not as complicated as it sounds, if you keep in mind that all chartplotters are doing the same tasks. You just need to learn how to do each task on the hardware and software you have.
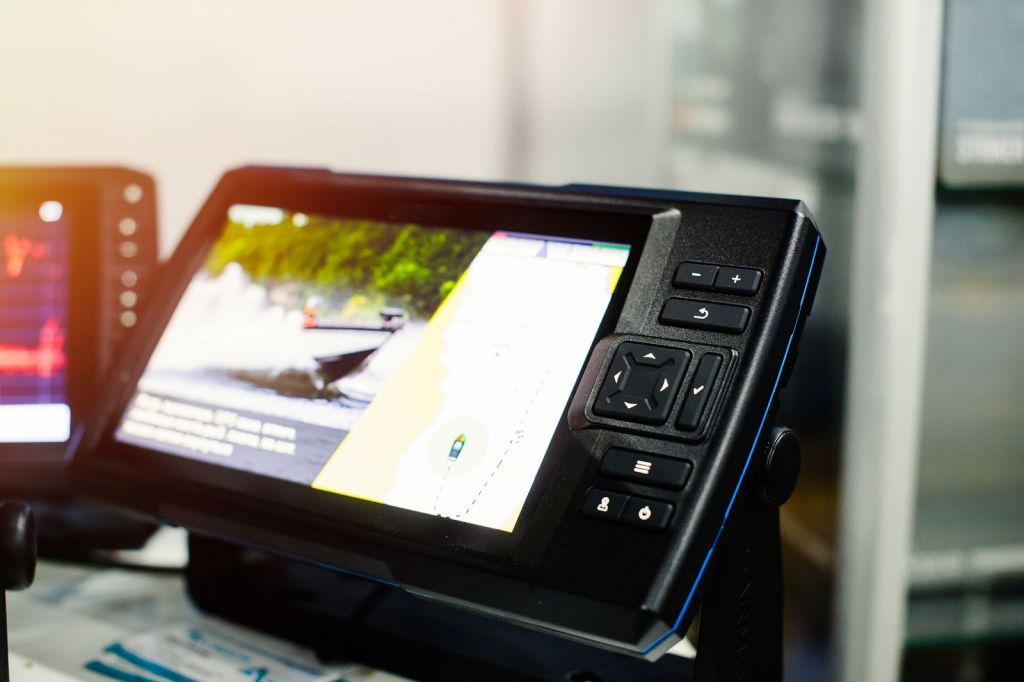
Touch screen chartplotters let you tap, touch and drag chart objects, waypoints, and routes. Some plotters have controls on the side, and some may have both touch screen and buttons. They usually model the user interaction on computer interfaces. For example, older Furuno chart plotters have buttons on them that look like right and left mouse-click icons, and they act like it, too. You can even attach a mouse to many plotters if that helps you.
Your primary tool is the user manual. If you know what you are trying to do, looking at the book is the most direct way to learn how. It's also harmless to experiment with the device to see how it works. If you don't have the manuals for your chartplotter, find them online and download a copy to keep handy as you learn.
At a minimum, you need to learn how to do the following primary tasks:
- Create a waypoint. This is often a tap-and-hold on touch screens, a right mouse menu, or accessed through a menu tree.
- Create a course - this may have you connect existing waypoints, or drag-and-drop waypoints along the route you want.
- Start and stop navigation on a course. Often clicking, right clicking, or tapping a course has options to start, restart, and stop navigation, as well as "start navigation from this waypoint" if you're already partway to your destination.
- Move or change a waypoint on an existing course. Sometimes you need to avoid something on the water or change your route on the fly, and it's critical to know how to do this.
- Reverse a course. This is a handy time saver for the trip home, and a way to reuse existing routes.
- Delete waypoints and courses (or hide them). Chartplotter screens can get cluttered up with a lot of routes, tracks, and points. Removing unused courses or figuring out how to hide them will keep it easier to read.
- Zoom the charts in and out. There's usually a zoom button, though touch screens and tablets likely use pinch and pull zooming. Always zoom in and review your entire route after you plot it to check for dangers!
- Scroll and pan around on the charts. Older units will have keypads to move around the charts, and touch screens will usually let you drag the view around.
With those basic functions, you can plot your route and navigate your voyage. But most chartplotters can do much more than just navigate a route for you. Half the challenge of learning a complex new system is knowing what it can do, and many chartplotters may do much for you, depending what instruments and electronics are integrated with it.
Step 3 - Use Your Plotter
With your destination in mind and your new found navigation skills, it's time to plot your first course and set sail. This is actually the easiest part once you've figured out how your chartplotter does each of the primary tasks in step two. Using your chartplotter has two steps - plotting your course, and then sailing your course.
Plotting Your Course
Plotting your course is fairly easy once you understand the mechanics of creating waypoints and routes. The steps are like plotting it on paper, without all the line drawing and moving.
- Determine the start and end of your course. The start is usually a safe waypoint just outside your marina; the end is the last mark near where you're going.
- Review the rough course on how you plan to go, so you know what's next as you zoom in and out.
- At the start, initiate a "Start New Course" command, however your chartplotter does this. In most cases, this drops a waypoint at the cursor, then leaves a line stuck from that point to the cursor pointer that stretches and moves as you move the cursor.
- Move the cursor to the next safe waypoint.
- Do "Add Waypoint."
- Repeat steps 4 and 5 with small, safe navigation steps until you get to the destination.
- Tell the plotter to "End Route."
- GO BACK. Look at the start of the course, and zoom it in to a fairly close scale.
- Re-follow your entire course, scanning it at a close zoom to make sure you didn't put any waypoints in any dangerous places. Fix them if you find them. If you find any narrow areas or places where you can not safely deviate far from the course, make a note of them.
Sailing Your Course
This is the easiest part. As you're getting ready to navigate, select the course you want to follow and choose "Start Navigation" or "Navigate this route" or whatever command your plotter uses.
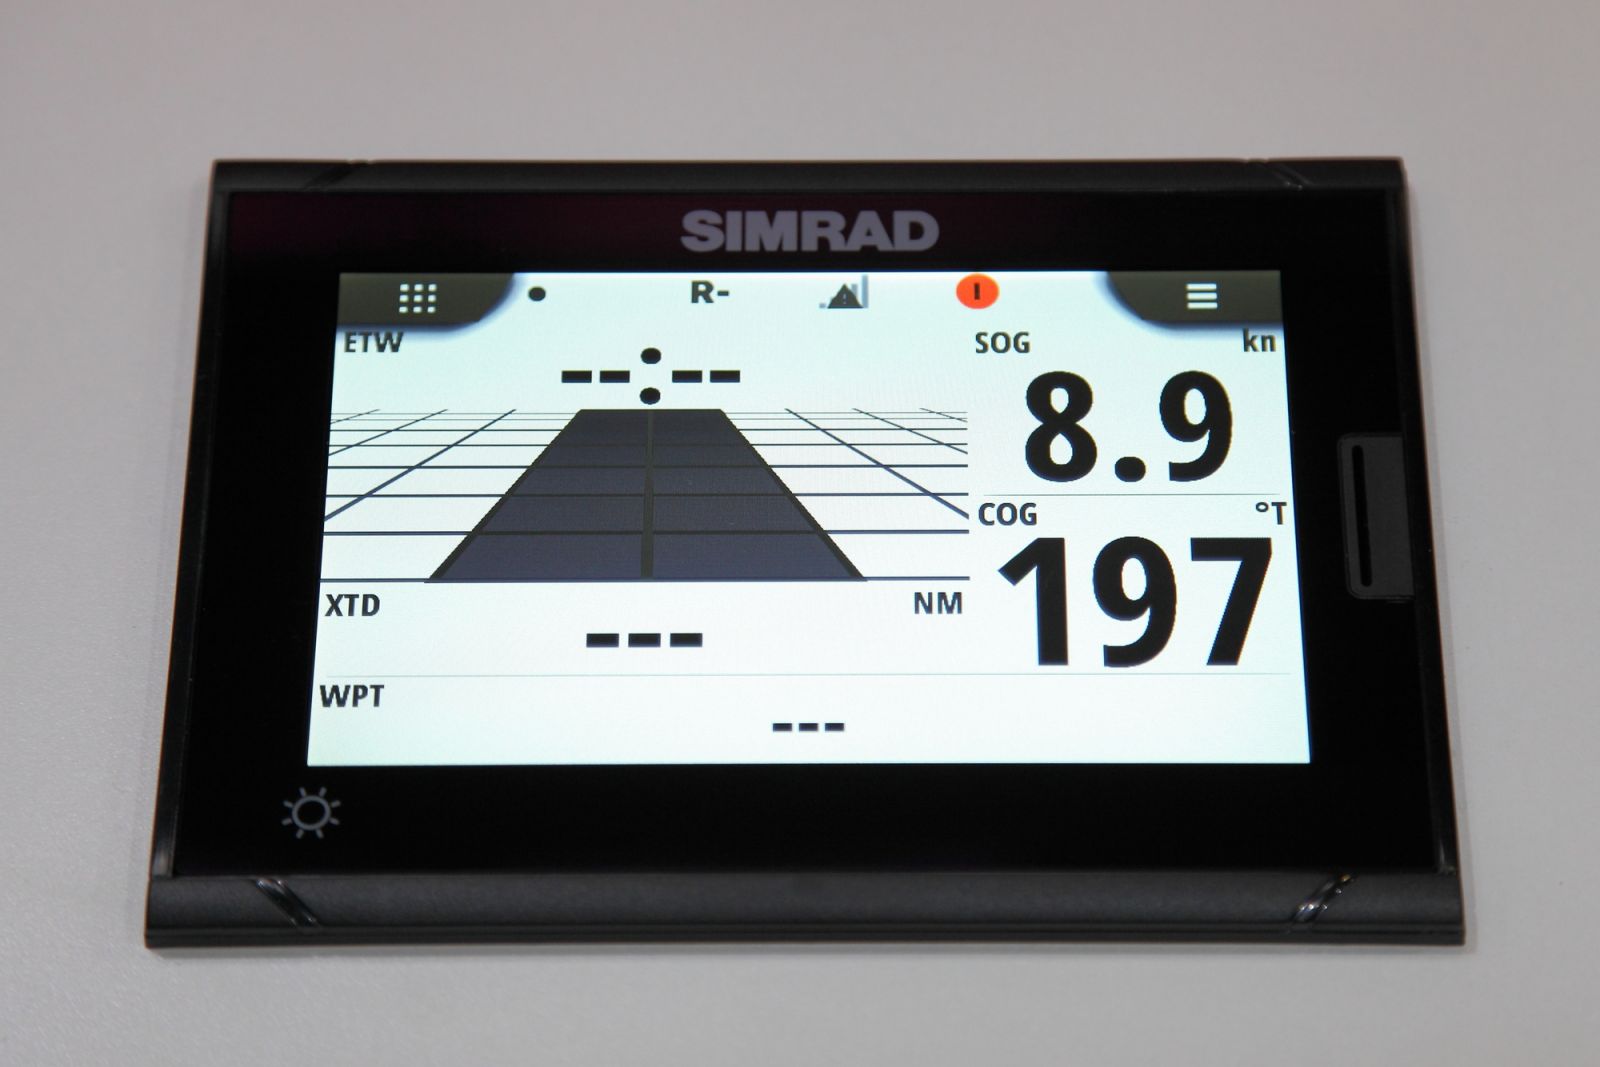
It will then show you a bearing or route to steer to get to the next waypoint. Start sailing.
As you move, the boat icon on the chartplotter will start moving as well, getting closer to the waypoint. When you reach the waypoint, your chartplotter will switch the course to the next waypoint, and give you a new bearing to sail for. Keep following these instructions and you will get to where you are going.
Waypoint Arrival: Most chartplotters determine that you've "arrived" at a waypoint when you reach a circle of a certain radius near the waypoint; often you may adjust this radius. You rarely sail exactly over a waypoint, you get close enough - like tossing horseshoes or getting a gimme putt in golf - and the chartplotter switches to the next point.
If you sail really far off your course, which is not uncommon when sailing straight up or down wind, it may not recognize that you've passed the waypoint and will still try to direct you to that point behind you. You may need to advance to the next waypoint manually if it doesn't figure out you're not going back. Some chartplotters are smarter about this than others.
When we're sailing, it's rare you get to sail straight on the rhumb line to the next waypoint in your course. Between current, leeway, and the need to tack and jibe, you may stray far from that plotted course. That's one reason Steps 8 & 9 are there - you need to know what the water around your course looks like, not just what you've plotted.
You'll also find that sometimes the course you plotted makes little sense once you've been tacking all over the bay for a few hours. It's OK to delete and move waypoints, just be careful to check that you've not re-routed yourself through a hazard.
How To Set Up a Chartplotter
A basic chart plotter with its own GPS requires minimal setup, but more complex multifunction devices require a more complex installation to integrate with the ship's information. All chart plotters will need, at a minimum, a set of charts for the area you want to sail, and a GPS fix, whether from its own built-in GPS or an external GPS antenna.
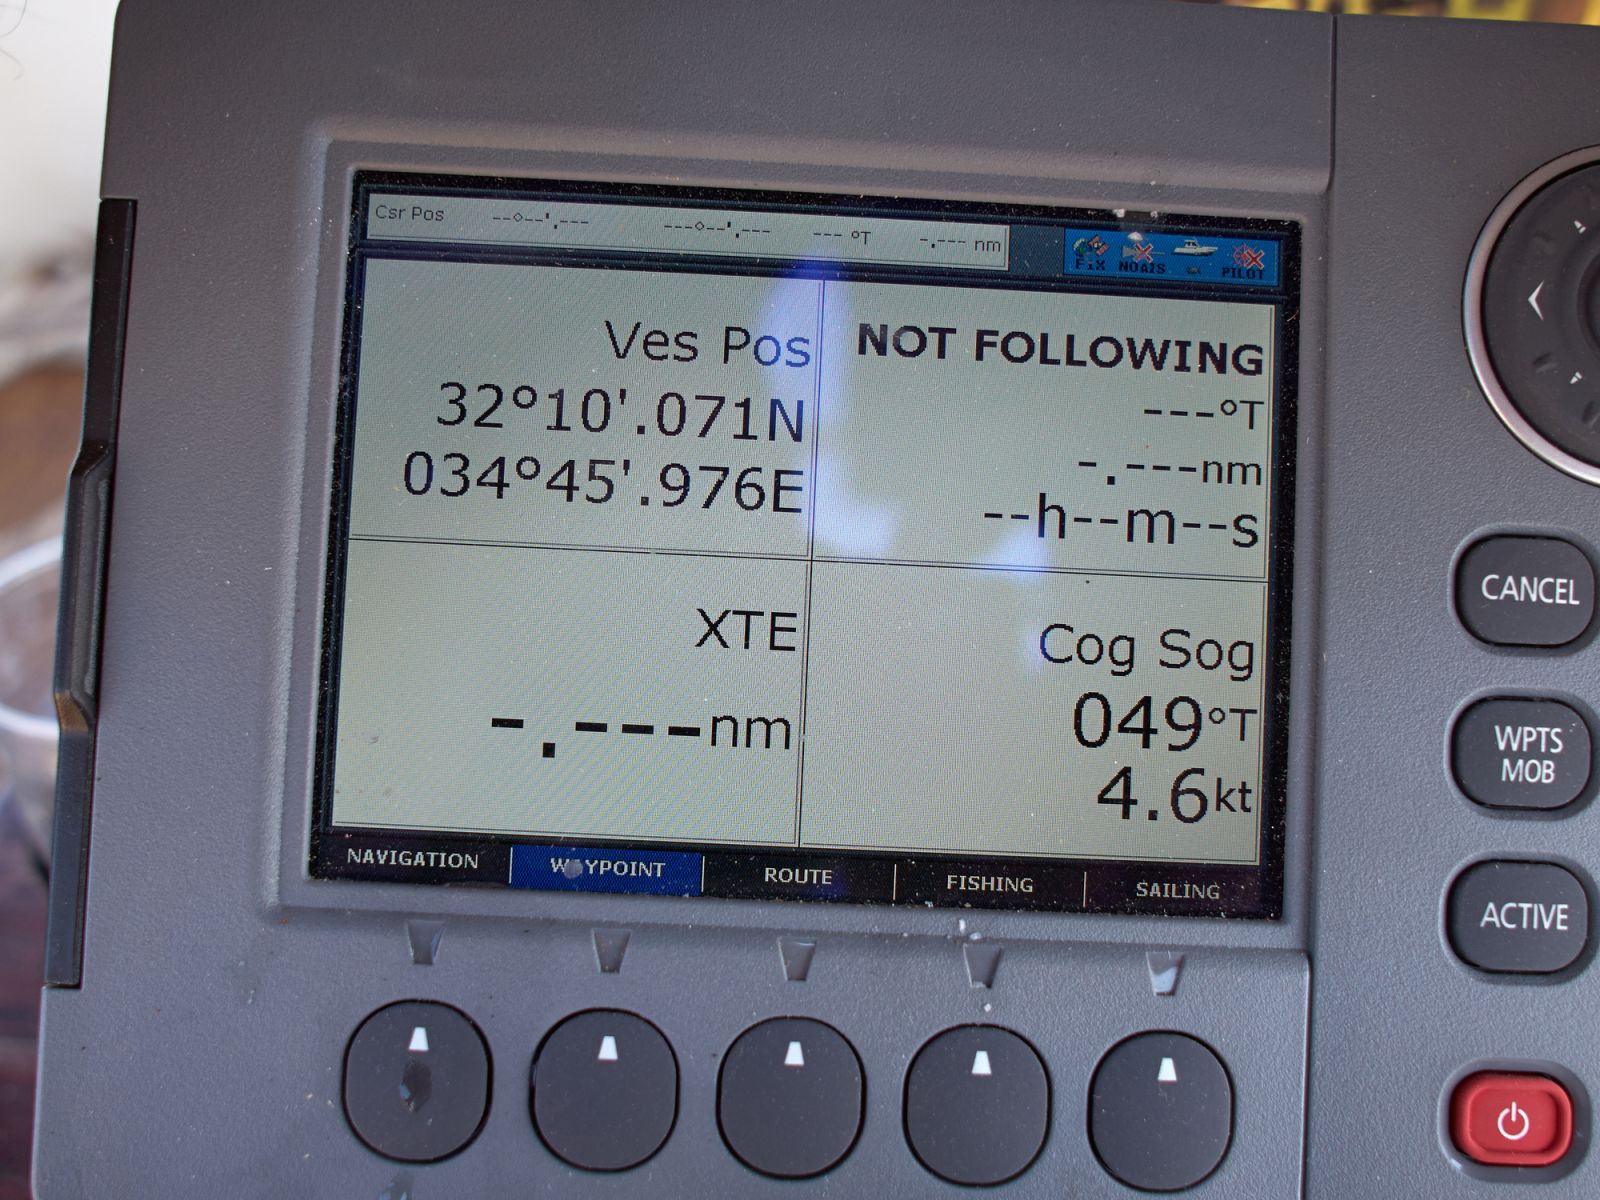
Getting Position & Ships Data
Older chart plotters which are already installed on your boat should already be connected to whatever instruments and transducers are on your boat, but a new chartplotter will need to be integrated. This often involves a direct, physical connection with a wire, though newer chart plotters can often send and receive data via Wi-Fi or other wireless protocols.
The most common communications protocols between instruments and chartplotters are:
- NMEA 0183 is an older protocol and is quite limited in the number of devices which can talk to each other.
- NMEA 2000 allows multiple independent devices to speak on a single network cable (bus).
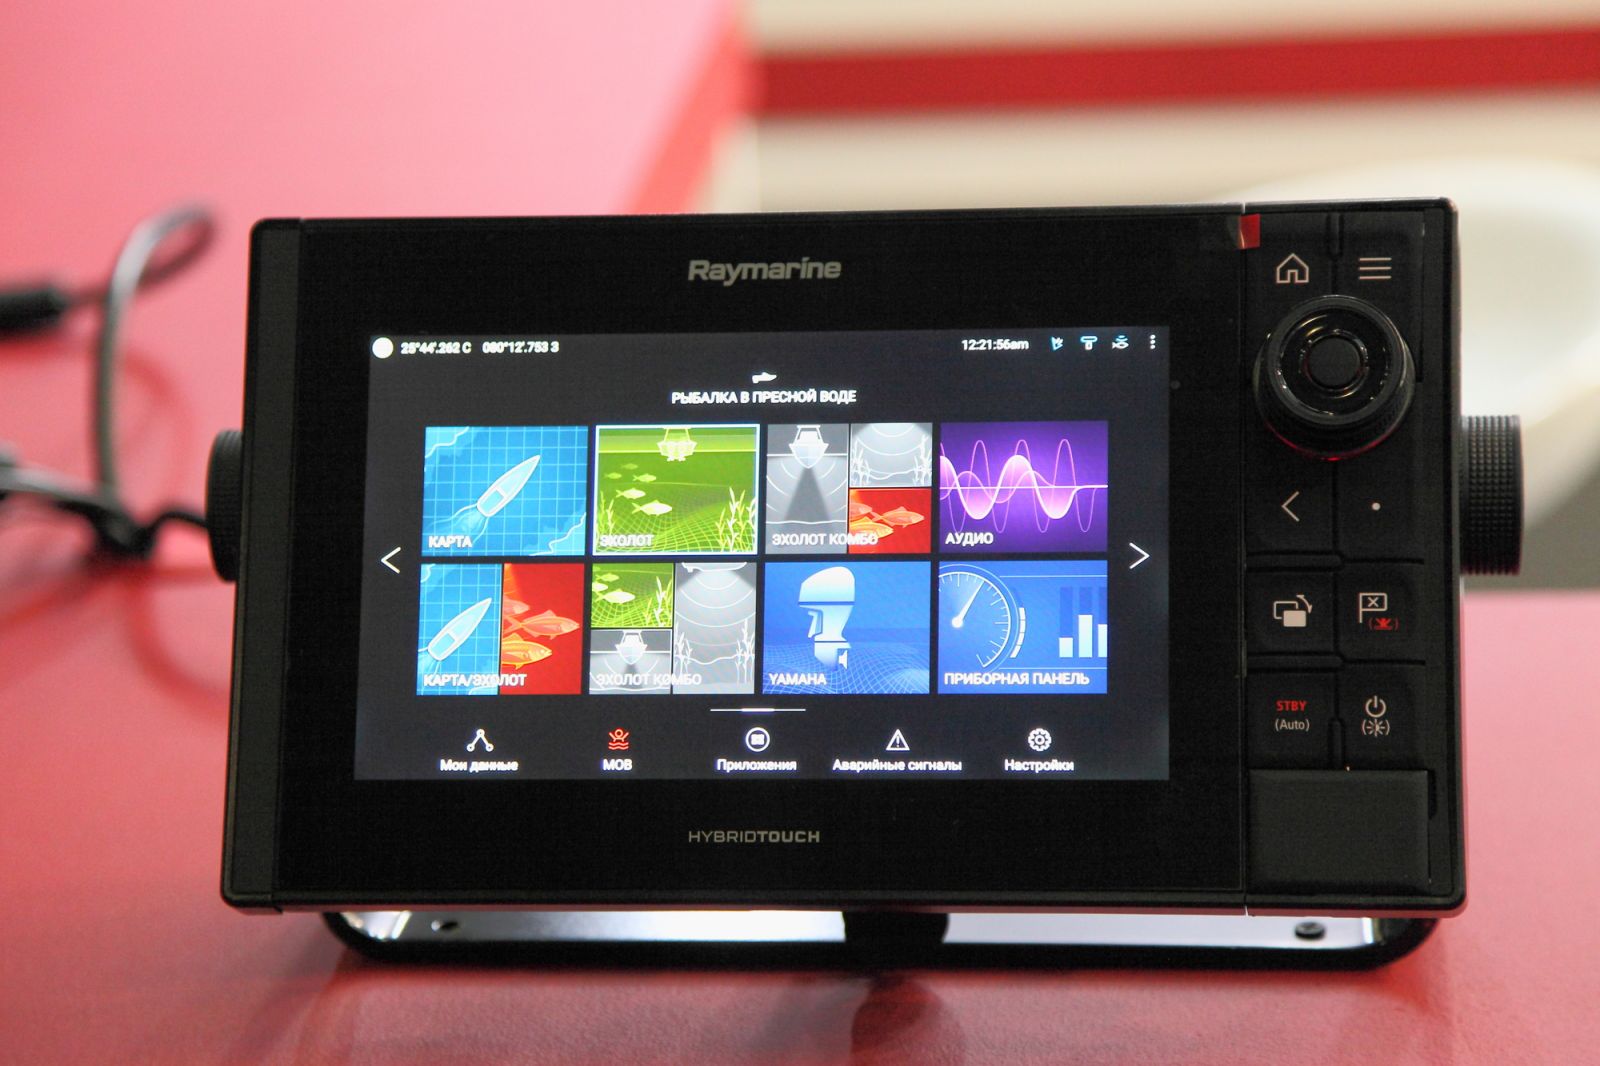
- Seatalk is a proprietary protocol used by older Raymarine devices. Seatalk-ng is a superset of NMEA 2000 commands specific to Raymarine.
- Ethernet, or 10-BaseT is the basic networking used in most Local Area Networks today. Many devices use this with the TCP/IP protocol to pass data.
- Wifi is a wireless protocol for TCP/IP networking and is interoperable with ethernet networks with Wifi gateways.
- Proprietary communications are used by many vendors, but rarely work across brands and are less common today. Most modern equipment uses NMEA 2000 (at a minimum) to assure interoperability, and many can use Wi-Fi and Ethernet for general networking and even internet access.
How do I get charts?
If you plan to sail the coastal waters of the U.S., you're in luck. The U.S. government provides a full set of coastal charts to anyone for free, and almost all chart plotters sold in the U.S. (and many elsewhere) come with that set of charts either installed or available for no-cost installation.
Other charts, you buy and install yourself. There are several major sources and formats for electronic charts, and which ones your chartplotter support may vary. So consult your documentation and your brand's website to find out exactly what formats you can use.
For more detail on charts and chart selection, check out our article Nautical Chart Types Explained, in particular the section on Electronic Charts.
Do you need a transducer for chartplotters?
A "transducer" is a data sensing device, and no, you do not specifically need a transducer for a chartplotter. Some plotters may come with one or more transducers in a kit, since it's good to have additional data for navigation. But the only thing you really need is a source of GPS position data.
Newer chartplotters use data from a variety of sources, so a networked installation will get all the data from a boat's transducers to the chartplotter to display.

Can you use a tablet or iPhone as chartplotter?
Yes, you can. There are several very good quality apps available for iPhone and Android platforms, including Navionics, iNavX, iSailor, and even open source tools such as OpenCPN. These apps provide good charting and if your boat is networked for it, they can show ship's data as well.
It's easy to set up your smart device as a chartplotter, if you take a couple of things into account. To learn how to do so safely, I recommend reading our article on setting up your smart device as your chartplotter.
Advantages of tablet chartplotter
The main advantages of tablet and phone navigation are the price, portability, and simplicity. You may already own a device, and if you don't, a new tablet and the Apps you need are a fraction of the cost of a dedicated chartplotter. You can move the device around to where you need it and take it with you for off-the-boat planning. And there's nothing to install unless you want it to talk to the ship's instruments - no wires or holes. So this is an ideal for smaller boats and tight budgets.
There are a few disadvantages to be aware of. They aren't deal breakers, but you need to consider them.
Disadvantages of tablet chartplotter
- Most tablets and phones are not as rugged as dedicated plotters. A "waterproof" phone or tablet won't take the same spray and rain as a marinized plotter, so you may need special cases.
- Tablets and phones aren't well suited for full daylight availability and may be hard to read in a bright cockpit on the water.
- You can lose them overboard. So have a backup ready to go.
- They run on batteries, not the ship's power. For long trips you may need to provide charging in the cockpit to keep your nav software running, or run them from an adapter. Using the internal GPS with the screen always-on chews through small device batteries quickly.
- Your app may rely on cellular data, which may disappear offshore. Make sure you choose apps which can download charts and work offline, or you may lose your charts a few miles out.
- The internal GPS isn't always as accurate as a nautical GPS. Ever have Google Maps get confused when it thinks you're taking an exit instead of staying on the highway? Being 50 or 100 feet off on the highway is no big deal. Since you're not about to drive off the road to follow the GPS, you have a road in front of you. But on a trackless body of water, there's no road to guide you, and a 50 foot error can put you hard aground.
These aren't insurmountable obstacles, but things to be aware of when you choose a tablet or phone for your primary navigation device. A nice tablet running navigation software is great for the cockpit, consider a backup handheld GPS chartplotter, or keeping a second device configured and ready to go.
Did you find the answer to your specific question?
👍 4 👎 3


Leave a comment