How To Plot a Course on a Chart (Illustrated Guide)
The weather's nice, you've got the weekend off, and you want to go someplace cool with your boat. How do you make sure the place you want to go is where you end up? And how do you get there without running aground, hitting rocks, or ending up in some other danger?
This is an overview of How to Plot a Course on a Chart, or “how to plan your trip to get from one place to another.” We'll use paper charts, since the technique underlies what you use on a chart plotter. If you know how to do this, you will make much better use of your plotter.
How to plot a course on a chart:
- Draw a line from point A to B - using parallel rules, from starting mark to next mark
- Check the line for safety - if not, move end mark until you get a safe leg
- Measure and mark the heading - transfer the leg to compass
- Measure and mark the distance - measure the legs
- Repeat until you get there
Don't worry about that chart and those funny-looking rules and dividers, we'll take you through the basics. After that, we'll walk you through those steps above in detail.
On this page:
Tools of the Trade
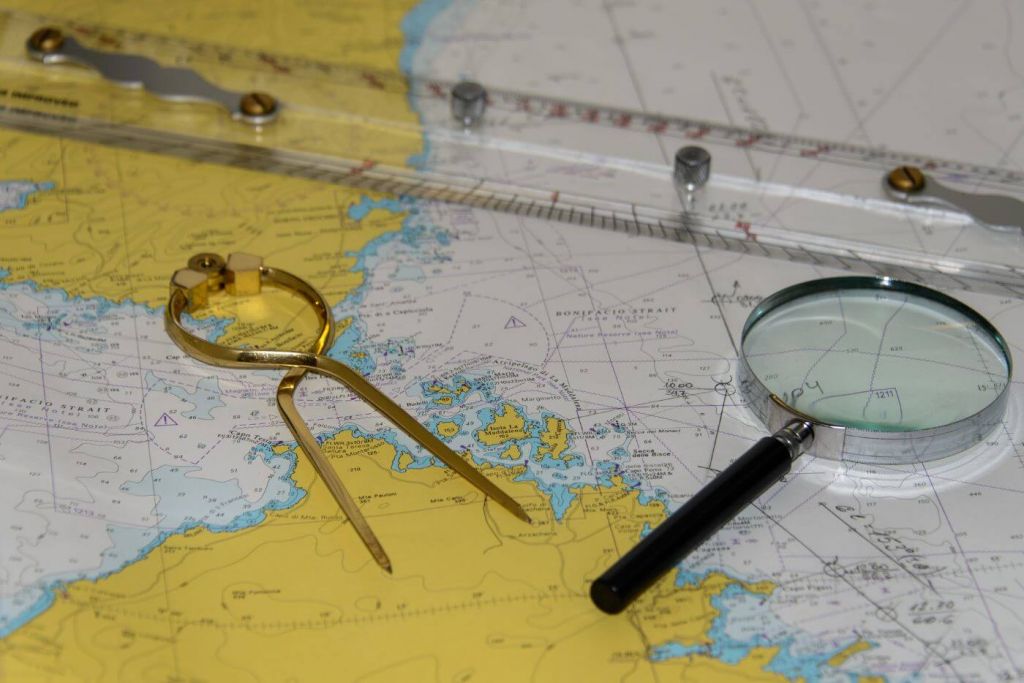
You need four tools to plan a route - a chart, a sharp pencil, a set of parallel rules, and a divider. The rules and dividers are often sold as sets.
The Nautical Charts
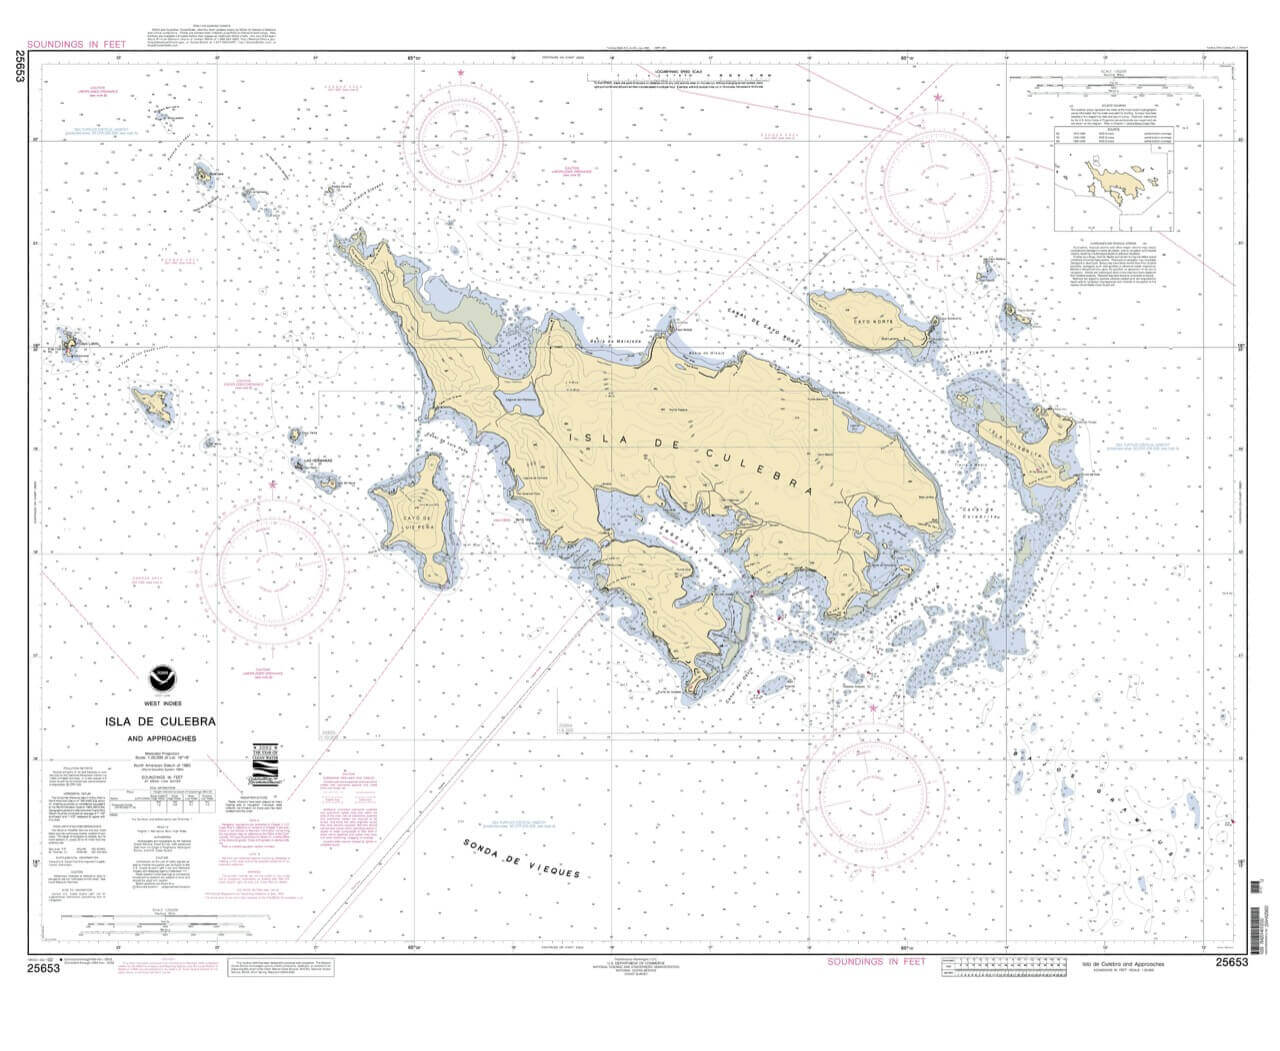
Good quality nautical charts with the proper scale for the area you will traverse are essential. You may need multiple charts if your trip takes you much past your harbor, or a Chart Kit which covers the region you will be sailing.
Parallel Ruler
The parallel ruler serves two functions in the navigation process. First, it is your straight edge for drawing course lines between Waypoints. The second is to "walk" lines across the chart to and from the compass rose to determine courses, or draw lines on a specific course.
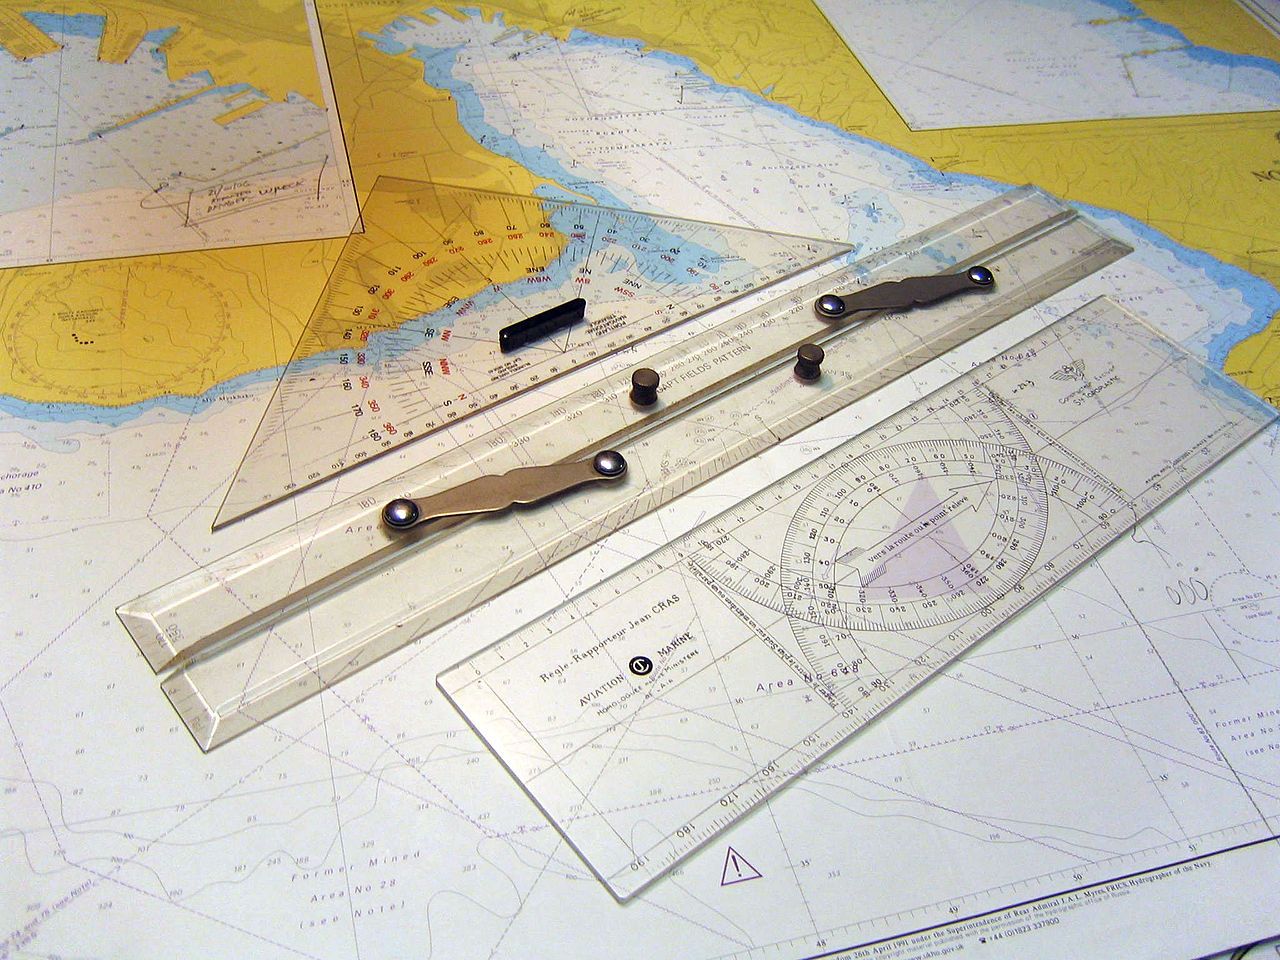
© Photo by Clipper under CC BY-SA 3.0 license
To "walk" a line, first find the nearest compass rose on the chart. The object is to take the rulers edge to the middle of the compass rose without changing the angle of the ruler. Put the rules together and lay one edge against the line you want to walk. Press down on the ruler edge that is touching the line to hold it in place. Gently slide the other rule towards the compass rose. When you reach extension, press down on the rule you just moved to hold it, then slide the first rule until they touch. If you do it right, the angle of the rules should not change.
Repeat until you get a rule edge through the center of the compass rose. Once you do that, you can then read the course angle on the rose for the line you walked.
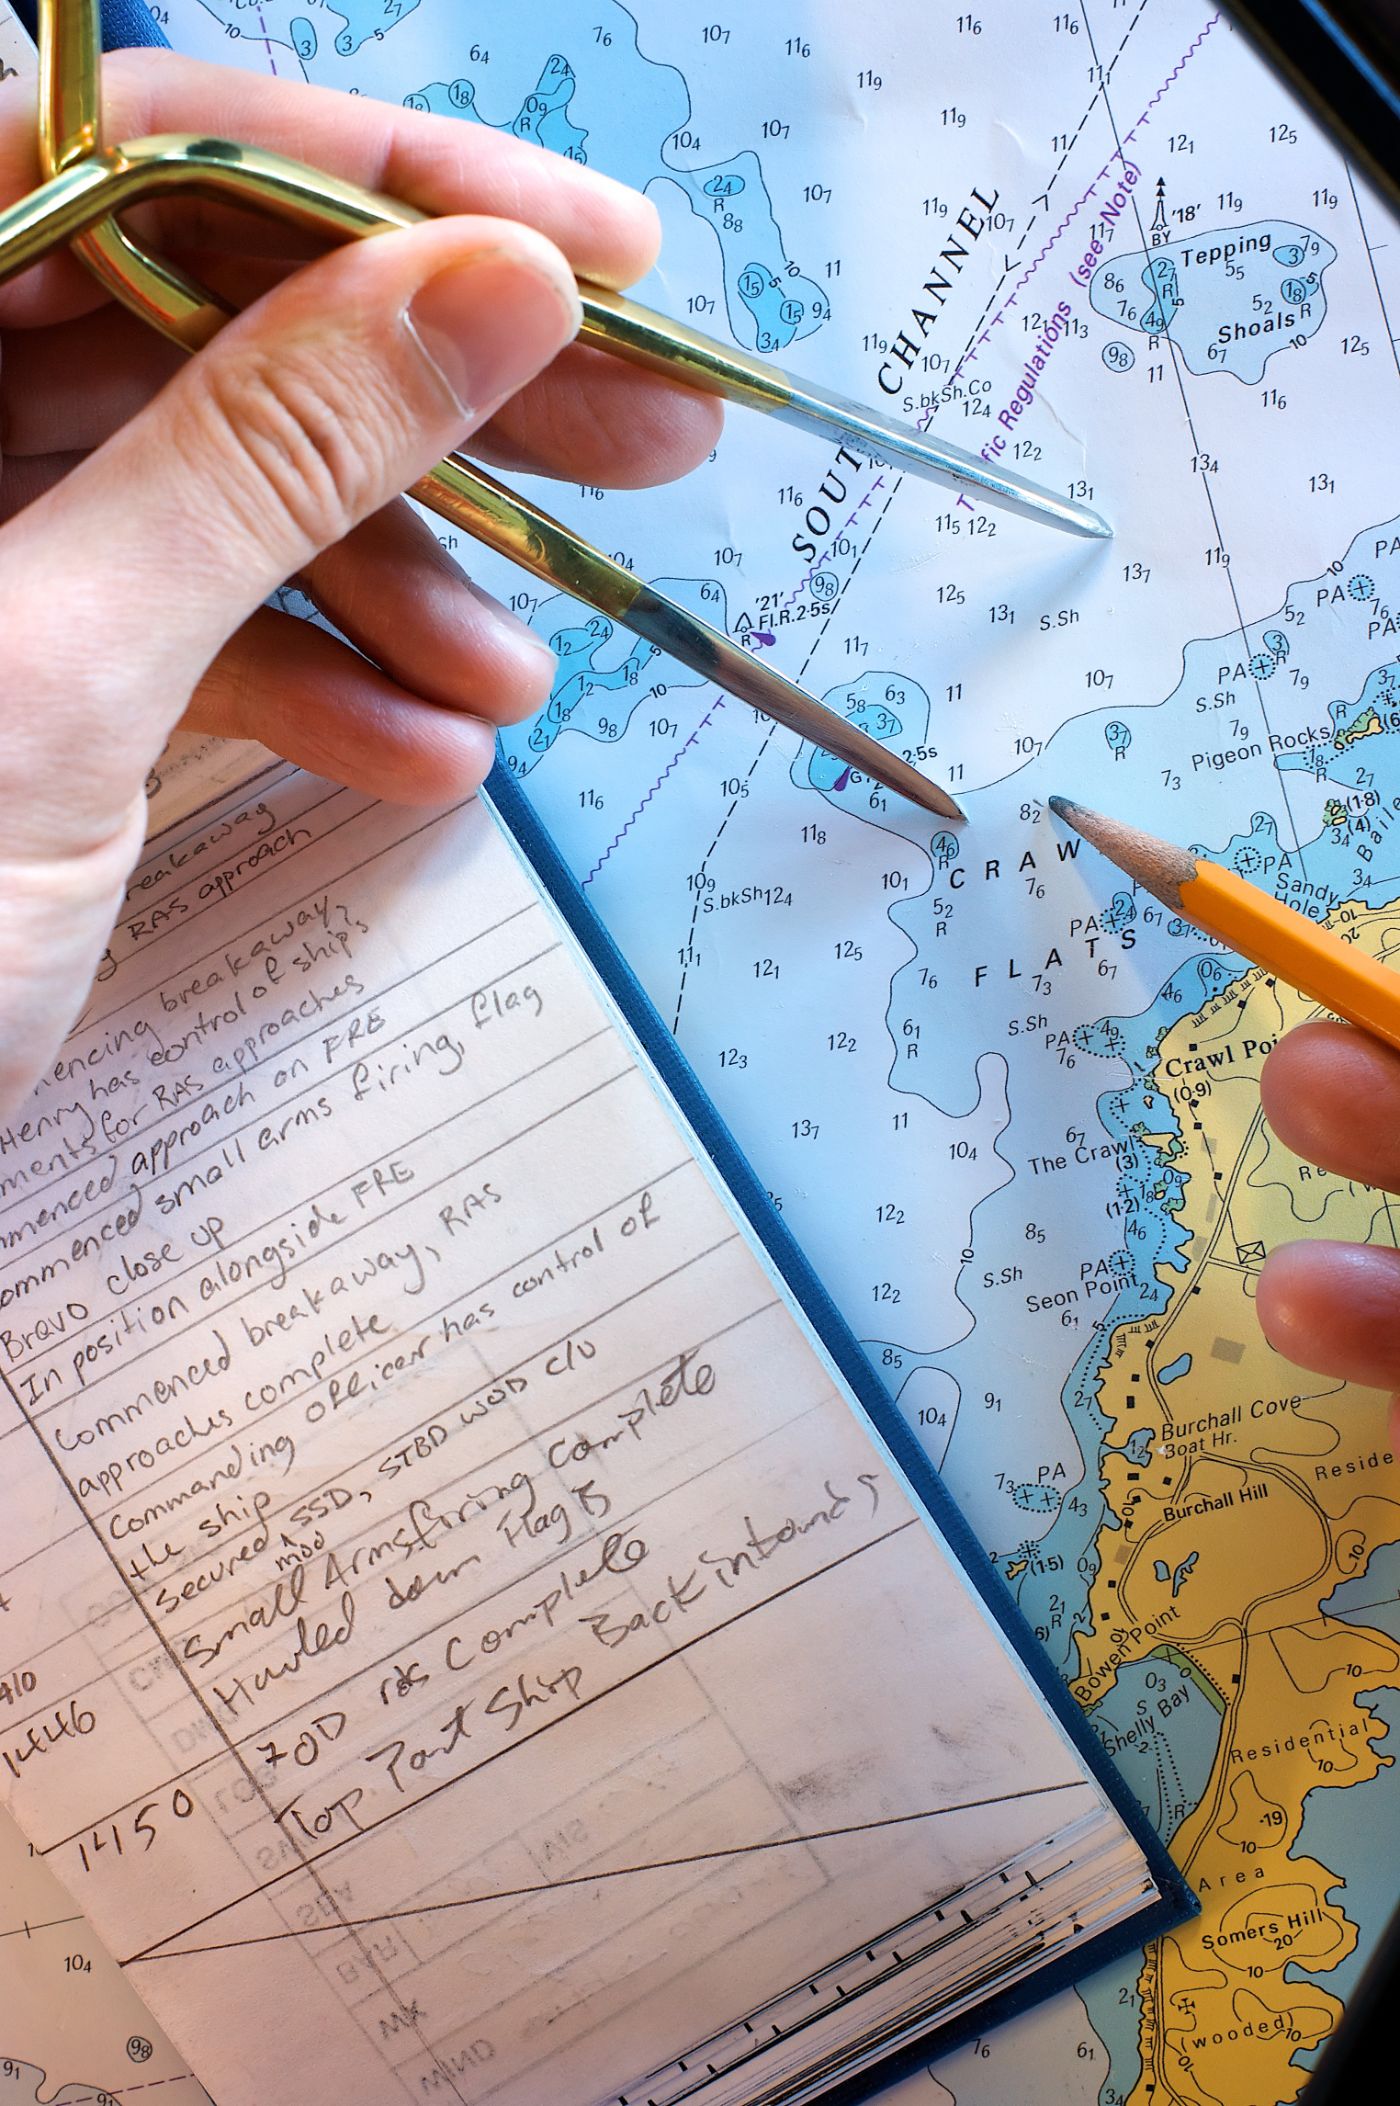
The Dividers (or Compass)

Dividers are a measuring tool, to determine lengths and distances on the chart, to measure waypoints and features on the chart to determine their positions, and for plotting points.
Measuring Distance
Many charts will have a distance scale on them showing one mile, but don’t worry if there isn’t since one minute of latitude is always one nautical mile. Every chart will have latitude scales on the vertical edges. You can measure distances by stretching the dividers between two points, then laying the tips against the latitude scale to read off how many minutes and seconds it covers. Do not use the longitude scales, as longitude distances are not constant.
Alternatively, you can spread the dividers a set distance like one mile, then put them on the line and walk them down the line, counting how many miles the line is. The last segment will be less than a mile, so shrink the dividers to match that distance and compare it to the latitude lines.
Plotting Points
Plotting a known point and reading an object’s position on the chart are similar activities. Every chart will have reference lines at the major latitude and longitude on the chart, often the whole numbers of minutes or the fives.
To measure an object’s position, set one end of the dividers on the object. Stretch the dividers to put the other leg on a latitude reference line, making the shortest perpendicular distance you can. Then move the dividers to the same reference point on the latitude scale and record the latitude. Repeat with the longitude scale.
To plot a point, reverse the process. Start at a reference line on the latitude scale and set the other divider to the latitude position of the point. Slide the dividers to approximately where the longitude position will be and draw a small line parallel to the latitude references. Then repeat with the longitude reference, drawing a small line about where the latitude measurement is. Your point is at the intersection of those two small lines.
Different Types of Nautical Charts
There are a lot of different types of nautical charts. I've previously written an article explaining the different uses for nautical chart types. If you don't know the difference between a pilot and a harbor chart, make sure to check the article.
Plotting your First Course
To start, we'll do a route from a single point to another - a one leg trip. A full course is just a series of plotted legs from point to point, starting where you are end ending where you wish to go.
Finding your Start and Ending
Whether it's your mooring or a mark just outside your harbor that you can find, plot a starting point. Now, pick a government mark in the rough direction you wish to head with no obstructions or dangers from your start. Keep it simple, only a mile or three long.
Here's how to plot the course:
- Draw a Line from Point A to B - With the parallel rules and a sharp pencil, draw a line precisely from the starting mark to the next mark on the route.
- Check the line for safety - Double check to be sure the line doesn't cross water too shallow for your boat, sandbars, rocks, and other hazards, or that it doesn't come too close to any hazards. You may come through there in rain, fog, or bad weather, and you want to leave plenty of sea room for safety. If you find a problem, move the mark until you can draw a safe leg.
- Measure and Mark the heading - With your parallel rules, walk the line you just drew up to the compass rose and read the magnetic direction from the proper circle - for example 118°. Adjust the heading for variation and deviance (see below) then above the plotted line, record the heading with C 118M, with "C" to show it's the course, and "M" to show the heading is Magnetic, not True. If you measure a course less than 100 degrees, be sure to include a leading zero when you record the course so there is no mistaking it for a missing digit, e.g. "C 090 M" for 90 degrees.
- Measure and mark the distance - Using the dividers, measure the length of the line you drew in Nautical Miles, for example 4.5 miles. Under the line, record it as D 4.5 NM, D for Distance, and NM for Nautical Miles. If you measure another unit, note it.
- Repeat Until You Get There - With the first leg drawn, now pick your next safe navigation point, draw a line, check, mark and measure. Repeat the process until your course reaches the destination.
TIP: As I plot them on the chart, I like to record the course details on a sheet of paper for a quick reference, writing each leg with course and distance, and listing any key waypoints and notes.
About Compass Headings
True and Magnetic North
A compass rose reads "True" and "Magnetic," and the distinction is important. A True heading points to the absolute north pole at the top of the glob as plotted on a globe or map. However, the magnetic pole does not sit exactly at the geographic pole, it's offset by about 500 kilometers (300 miles). So your compass does not point to True north, but to Magnetic north. It's only a few degrees difference, but since the magnetic pole is off center, the amount it varies is different depending on where you are in the world.
Variation
Not only is the magnetic north pole off center, it's moving very slightly in a predictable pattern. So the variation between True and Magnetic changes over time.
Variation for a part of the world is shown in the center of the compass rose. The variation is expressed in minutes and seconds with a direction, a year it was measured, and the amount the variation changes every year. An example might read VAR 4°15'W (1985) and Annual Decrease 8'.
If you wish to record a Magnetic course on your plot, adjust for the annual change to the variation. For much coastal navigation, if the chart is new, and the change is small, it doesn't make a big difference. When the adjustment exceeds half a degree it becomes more significant, or if a trip and plotted leg is very long.
Actual Compass Heading
There's one more step beyond plotting a Magnetic course that seasoned mariners take, which is to calculate the actual heading for the specific compass on your boat. With electronic charting and fluxgate compasses, this isn't something many mariners do anymore.
Ferrous metals, strong electric fields, and magnets can affect a compass' ability to point at magnetic north. Most boats have enough of all of these to knock a compass out of true. "Swinging the compass" on a boat is done by an expert using a gyroscopic compass to build a table of "deviations" in the ship's compass, depending on the direction the ship is sailing.
This "Deviation" is the final difference between a compass which points at magnetic north, and what your ship's compass may show.
If you which to plot a Compass course on your chart instead of a Magnetic course, you need add the ship's deviation from the table. We designate compass courses with a C at the end instead of an M, e.g. "C 092 C" denotes a compass course of 092.
Modern fluxgate compasses usually have a compensation function that you can use to calibrate them for deviation, so this is more of an issue with magnetic compasses and paper navigation. But it bears knowing about, if your compasses aren't lining up with each other this might be why.
Did you find the answer to your specific question?
👍 34 👎 11
Comments
James Cini
great information, thank you.
Jim Mell
Thank you
Herman
I am new to sailing. I will take classes on sailing and navigation very soon. I plan to live aboard. I want to say that your article was very informative and we’ll written. I hope to continue reading more of your articles and experience. Again thank you. Herman.
Leave a comment