How to De Winterize an Inboard Boat Motor in 1-3 Hours
De-winterizing your boat motor involves a series of steps to remove the protective measures that were put in place during the winterization process. Inboard boat motors are larger and more complex, which means that de-winterizing one may take longer and require more specialized tools and expertise. In this article, we'll discover how you can de-winterize your boat motor in just 1–3 hours.
First, flush the engine with fresh water to remove any antifreeze or other winterizing agents. Next, change the oil and oil filter, and replace any other filters that may need changing. Once changed, start the engine and let it run for a few minutes to circulate the new oil.
From there, you'll need to check the engine's cooling system, electrical system, and fuel system to ensure everything is in good working order. Let's take a look at a more detailed explanation of each step to successfully de-winterize your inboard boat motor and get it ready for a summer of fun on the water.
Summary
- After a long winter, your boat's battery may need to be recharged or replaced, so make sure to check and replace it if necessary before you hit the water.
- The cooling system in your boat's inboard engine may have been filled with antifreeze during the winterization process, so you need to flush it out and refill the system with water.
- Check all fuel lines and fluid levels, and replace the fuel filter if it was not replaced during the winterization process.
- Give your engine bay a good cleaning to remove any debris or grime that may have accumulated over the winter and apply a protective coating to help prevent corrosion.
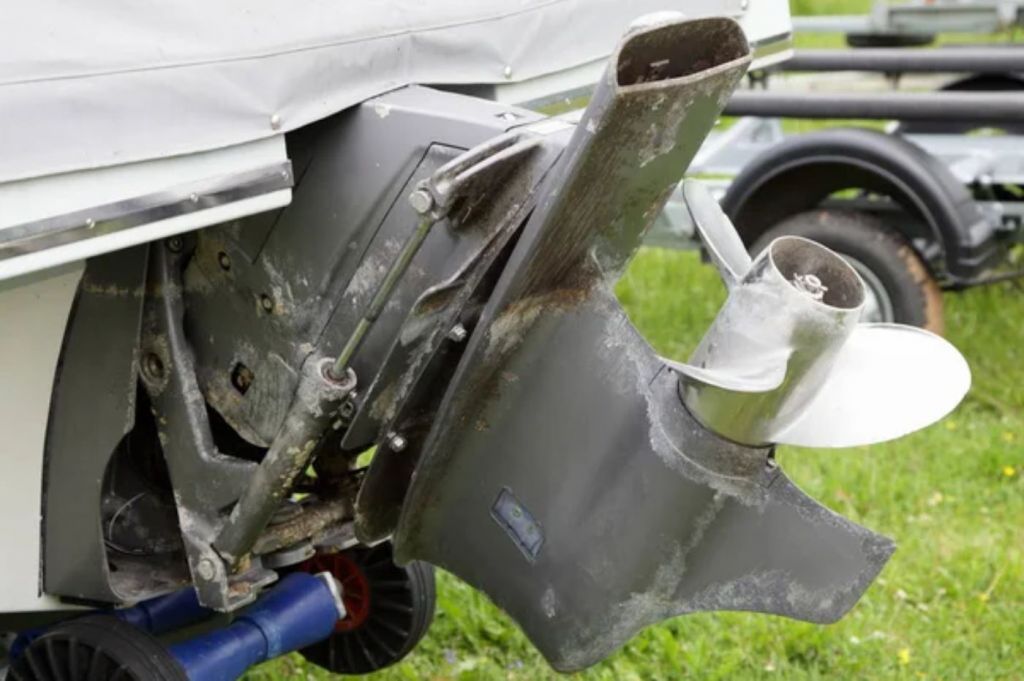
On this page:
Steps to Dewinterize an Inboard Boat Motor in 1-3 Hours
The table below shows how long it takes to de-winterize an inboard boat motor:
| Steps To De-Winterize An Inboard Boat Motor | Estimated Time |
|---|---|
| Draining antifreeze | 30-60 min |
| Checking fuel system and changing oil | 30-60 min |
| Inspecting cooling system and reconnecting battery | 15-30 min |
| Testing motor and performing maintenance | 15-30 min |
| Total estimated time | 1.5-3 hours |
Draining the antifreeze from your inboard boat motor after de-winterizing prevents any damage to the engine caused by the antifreeze freezing and expanding. Meanwhile, checking the fuel system and changing the oil will help keep your engine running smoothly and prevent any damage caused by dirty oil.
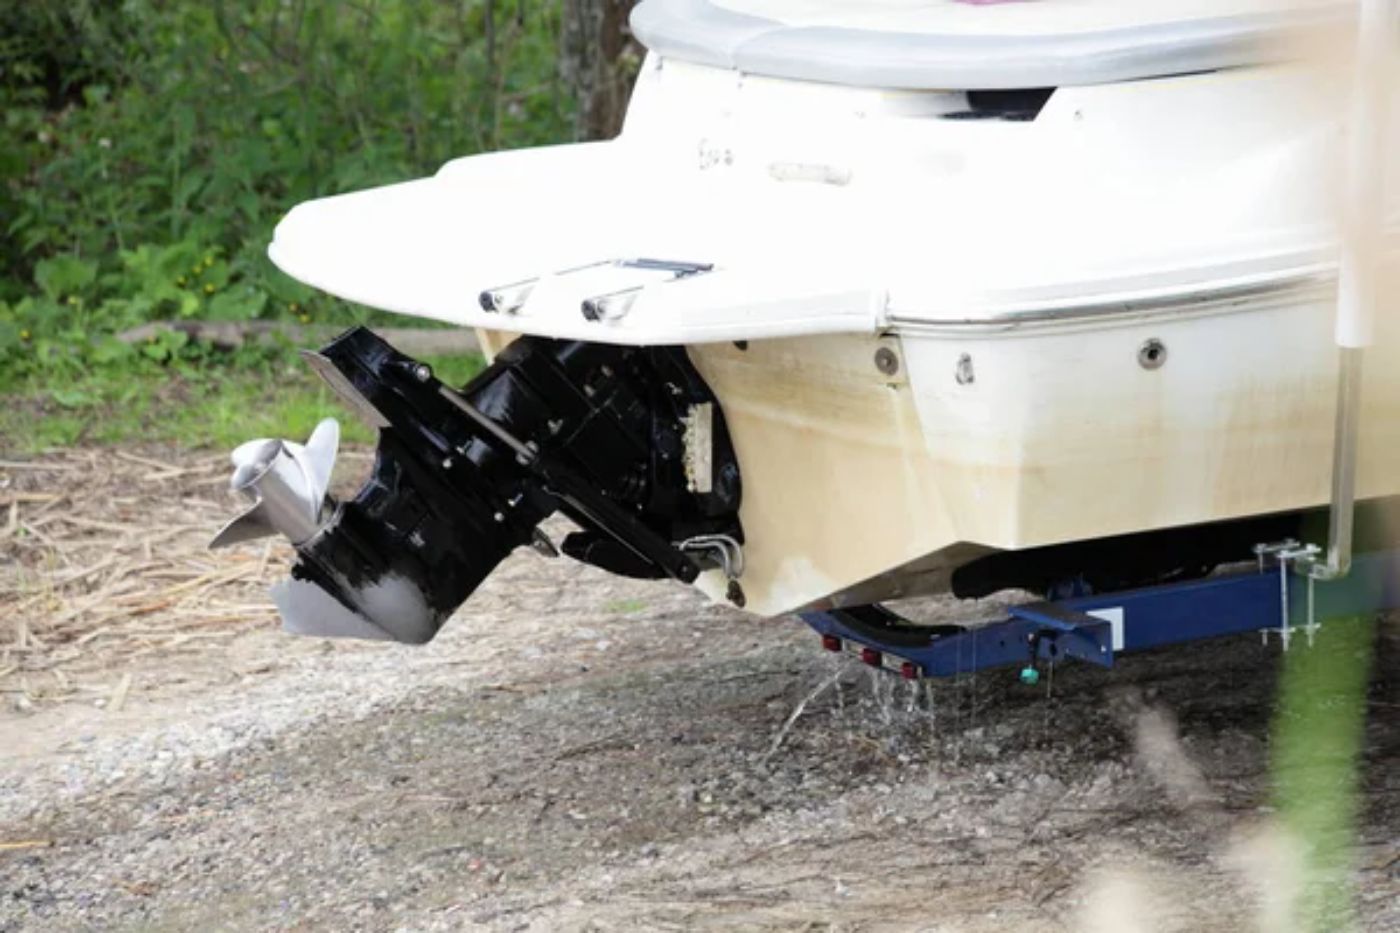
Inspecting the cooling system for any leaks or damage helps ensure that your engine starts properly and runs smoothly. Now, before taking your boat out on the water, you will need to test the inboard boat motor to check if your boat is safe and ready for the water.
Drain the Antifreeze From the Inboard Boat Motor
How to drain the antifreeze
-
Locate the antifreeze drain plug: Start by locating the antifreeze drain plug on the inboard boat motor. This will typically be located on the bottom of the engine block or on the side of the exhaust manifold.
-
Prepare the boat: Before starting the engine, make sure the boat is in the water and that the water intake is open. This will allow water to flow through the engine and help flush out any remaining antifreeze.
-
Remove the drain plug: Using a wrench or socket, remove the antifreeze drain plug and allow the antifreeze to drain out of the engine. You may need to use a bucket or other container to catch the antifreeze.
-
Flush the engine: After all the antifreeze has drained out, it's important to flush the engine with fresh water to remove any remaining antifreeze and other debris. This can be done by running the engine in neutral with the water intake open for several minutes.

- Check the oil: After flushing the engine, check the oil level and condition. If the oil appears milky or has a strong antifreeze odor, it may need to be changed.
Tips to efficiently drain antifreeze
- It's a good idea to change the oil and oil filter at the same time as draining the antifreeze.
- Consider using a marine-specific antifreeze that is safe for the environment.
Check the Fuel System and Change the Oil
Check the fuel system
- Start by checking the fuel tank for any signs of damage or leaks. If the tank is damaged, it may need to be replaced.
- Next, inspect the fuel lines and connections for any cracks or leaks.
- Replace any damaged parts as necessary. It's also a good idea to add a fuel stabilizer to the tank to prevent the fuel from going bad.
Change the oil
Before starting the engine, change the oil and oil filter. This will remove any contaminants that may have accumulated in the oil over the winter. Be sure to use the recommended oil type and viscosity for your engine. Check the owner's manual for specific instructions on how to change the oil.
Tips to efficiently change fuel
- Use a fuel pump to remove any old fuel from the tank before adding fresh fuel and a fuel stabilizer.
- Use an oil extractor to remove the old oil from the engine. This will save time and make the process less messy.
- Use a funnel to avoid spills when adding new fuel or oil to the tank or engine.
Inspect the Cooling System and Reconnect the Battery
How to inspect the cooling system
- Check the hoses, clamps, and fittings for any visible signs of damage or wear.
- Make sure the raw water intake valve is open and clear of debris.
- Inspect the impeller for any damage or wear and replace it if necessary.
- Check the coolant level and add more if needed.
- Turn on the engine and check for proper water flow through the exhaust.
How to reconnect the battery
- Clean the battery terminals and cables with a wire brush and baking soda solution.
- Reconnect the positive cable first, followed by the negative cable.
- Turn on the battery switch and check for proper electrical function.
Tips to maintain the cooling system and reconnect the battery
- Use a checklist to make sure you don't miss any steps.
- Keep all necessary tools and supplies within reach.
- Work systematically and carefully to avoid mistakes or accidents.
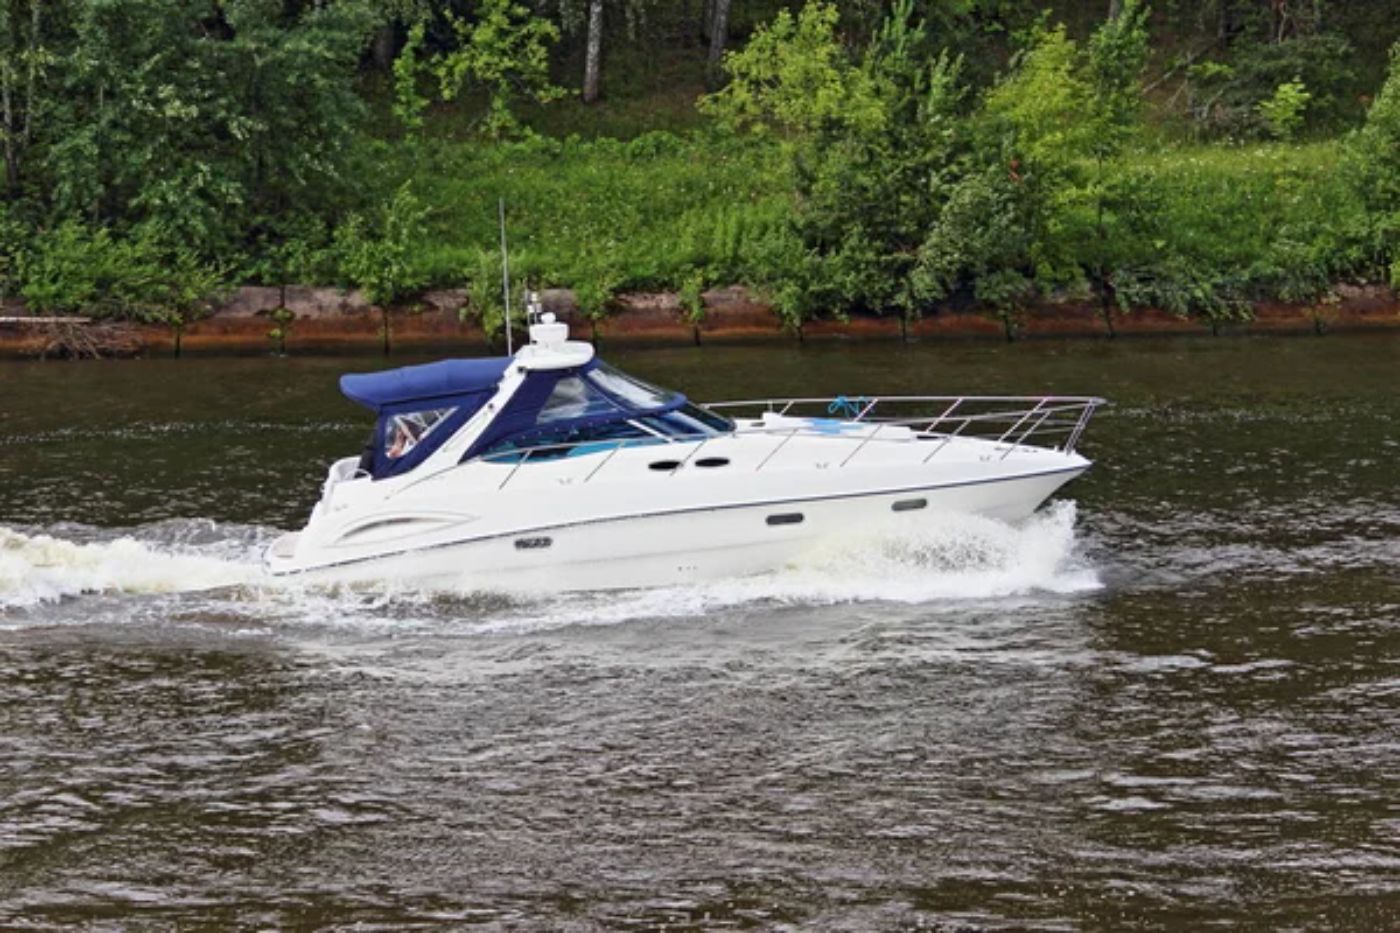
Test the Motor and Perform Maintenance Tasks
How to start a winterized boat motor
Check the outdrive and distributor and spark plugs
Make sure the outdrive is in the proper position. If you have a stern drive, ensure that it is in the down position. If you have a pontoon boat, make sure the engine is in the proper position for your specific model.
Also, check the distributor and spark plugs. Make sure they are clean and free of any debris. If they look worn or damaged, replace them before starting the engine.
Check the oil
Before starting the boat motor, check the oil levels. If the oil is low, add more oil to the engine. Also, check the oil filter and replace it if necessary.
Check the battery
Check the battery and make sure it is fully charged. If the battery is low, charge it before starting the motor. Check the battery cables for any signs of corrosion, and replace them if necessary.
Check the fuel system
Check the fuel system for any leaks or damage. Make sure the fuel tank is full and the fuel lines are clear of any debris. Check the fuel filter and replace it if necessary.
Start the motor
- Once the fuel system is primed, turn the key in the ignition to start the motor. Listen for the motor to start. If the motor doesn't start, check the spark plugs and wires.
- Once the motor has started, let it run for a few minutes to warm up. This will help prevent any damage to the motor.
- Check the water flow to ensure the motor is getting enough cooling. Look for water coming out of the exhaust and make sure it's flowing steadily.
- Finally, check for any leaks or other issues with the motor. Make sure the hoses and connections are secure and there are no leaks in the fuel or coolant systems.

Can You Winterize a Boat Motor Without Starting It?
Perform maintenance tasks
Once the motor is running smoothly, perform any necessary maintenance tasks. This may include changing the oil and oil filter, replacing the spark plugs and wires, and checking the belts and hoses.

How To De-Winterize a Boat in 15 Easy Steps
Tools Required for De-Winterizing an Inboard Boat Motor
Before you start de-winterizing your inboard boat motor, make sure you have the following tools and materials:
| Tools and Materials | Estimated Price |
|---|---|
| Fuel stabilizer | $10-20 |
| Propylene glycol antifreeze | $10-20 |
| Fogging oil | $5-15 |
| Engine oil and oil filter | $30-50 |
| Motor flusher and garden hose | $20-30 |
| Marine oil change pump | $30-60 |
| Container | $5-10 |
| Clean cloth | $2-5 |
Fuel stabilizer
This is used to keep the fuel in your boat from breaking down, which can cause problems with your engine. You need to add it to your fuel tank before starting the engine.
Propylene glycol antifreeze
This is used to protect your engine block from freezing during the winter months. Always use the right type of antifreeze for your engine.
Antifreeze to Winterize Your Boat: What & How Much
Fogging oil
This is used to protect your engine from rust and corrosion during the winter months. Make sure to spray it into the engine's air intake before starting the engine.
Engine oil and oil filter
You will need to change the oil and oil filter in your engine after it has been sitting for a few months. Make sure to use the right type of oil for your engine.
Motor flusher and a garden hose
This is used to flush out any debris or saltwater that may have accumulated in your engine during the winter months. Make sure to attach the motor flusher to your water intake and run the engine for a few minutes.
Marine oil change pump
This is used to pump out the old oil from your engine. Make sure to follow the manufacturer's instructions when using the pump.
A container: You will need a container to catch the old oil when you drain it from your engine.
Clean cloth
You will need a clean cloth to wipe down the engine and any other parts that may have accumulated dirt or debris during the winter months.
In addition to these tools and materials, you may also need to check your hoses, fuel lines, and cables for any signs of wear or damage. Make sure to replace any parts that are worn or damaged before starting your engine.
Did you find the answer to your specific question?
👍 0 👎 0


Leave a comment