How To De-Winterize a Boat in 15 Easy Steps
You have suffered from the mandatory sailing downtime, your boat has been idle for months due to freezing temperatures, but now it is time to take it out of the proverbial shed and get back on the road! I mean water. Unless you live in the Caribbean and you sail all year round. In that case, read on and laugh at us, the unfortunate bunch. This article will summarize the de-winterization process in 15 easy steps.
So what are the steps you need to take to de-winterize your boat?
- Strip Down Shrink Wrap Or Any Other Covers
- Rid Your Boat Of Critters
- Check Your Battery
- Make Sure The Electronics Work
- Prepare The Cooling System
- Inspect Cooling Hoses
- Change The Oil
- Gas Tank Check-up
- Engine Belt Inspection
- Fuel Lines Inspection
- Underwater Damage Assessment
- Clean
- Polish The Brightwork
- Equipment Check
- Inspect Your Tow Trailer
- An Extra Bonus Step…
Since some of these steps are a bit complex, so let's go over them carefully to make sure you don't cause your boat any damage once you hit the road.
I meant once you hit the water. Figuratively. Boy, these road expressions just don't work with boats, do they?
Before we start - this list doesn't contain any overly complicated or time-consuming steps. A day of work is enough to go through it even if you encounter some issues. But don't schedule de-winterization a day before your first sail. It might happen that you will need to replace a few items that will require a visit to a store or an order that will take a couple of days to be delivered.
With that in mind, let's get into it.
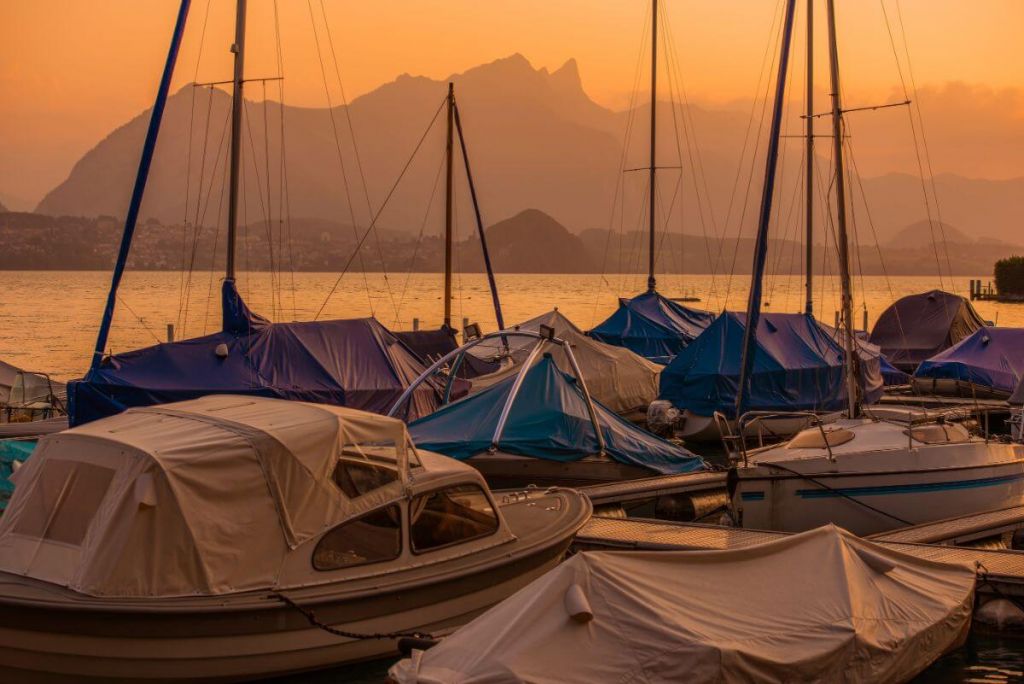
Strip Down Shrink Wrap Or Any Other Covers
Before you can do anything else, this will have to be the first step.
When you were winterizing your boat, chances are that you have covered it with something, especially if you left it out in the open. You did this to protect the boat against moisture, snow, ice, UV rays, simply by sealing it with a kind of a plastic cover.
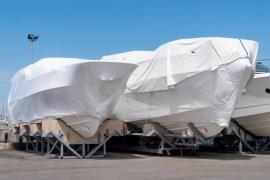
If that something was as simple as a few plastic sheets that you have put over the boat with the use of some tape and ropes, you could just take them down yourself. If you used shrink wrap though and had this done by a professional, try to remember if this step was included in the price. More often than not, you will find that the shrink wrapping service includes the company coming over after winter, stripping the material away, and, most importantly, taking it with them.
If you haven't already, shrink-wrapping your boat could be interesting in some cases, but not in all. Learn all pros and cons of shrink-wrapping your boat here.
It is a lot of plastic that won't fit in your average trash container, so take advantage of the pros if you can.
Also, don't forget to save moisture bags you might have put in, as well as vents and doors that might have been installed in the shrink wrap material - they can be saved for later use.
Can You Recycle or Reuse Boat Shrink Wrap? (and How To Do It)
Rid Your Boat Of Critters
Not to scare you, but after you undress your boat from its winter coat, you might find unwanted tenants, especially if you haven't checked it for a few weeks or months. No, I don't mean people, (although you never know) I am talking about mice, snakes, roaches, birds … Your boat has been a perfect, undisturbed shelter for anything that managed to claw its way inside. I know of a lady who found a cat living in her boat during the whole winter.
A cat is probably the least of your worries in such a scenario, but rats can wreak havoc on the wiring, hoses, upholstery, and practically anything they can gnaw on.
In some cases, a thorough inspection and a subsequent sweep might be enough, but if your boat is too big for that or has too many hiding places you couldn't get into without taking it apart, consider getting an ultrasound pest repellent. I know that their effectiveness has been questioned by many, but even if they don't work as advertised on the pretty colorful box, they do make some difference and they start at around 5 dollars.
Of course, chemicals are a much more practical option, but only if you are okay with the smell and hazardous nature of the substances.
Check Your Battery
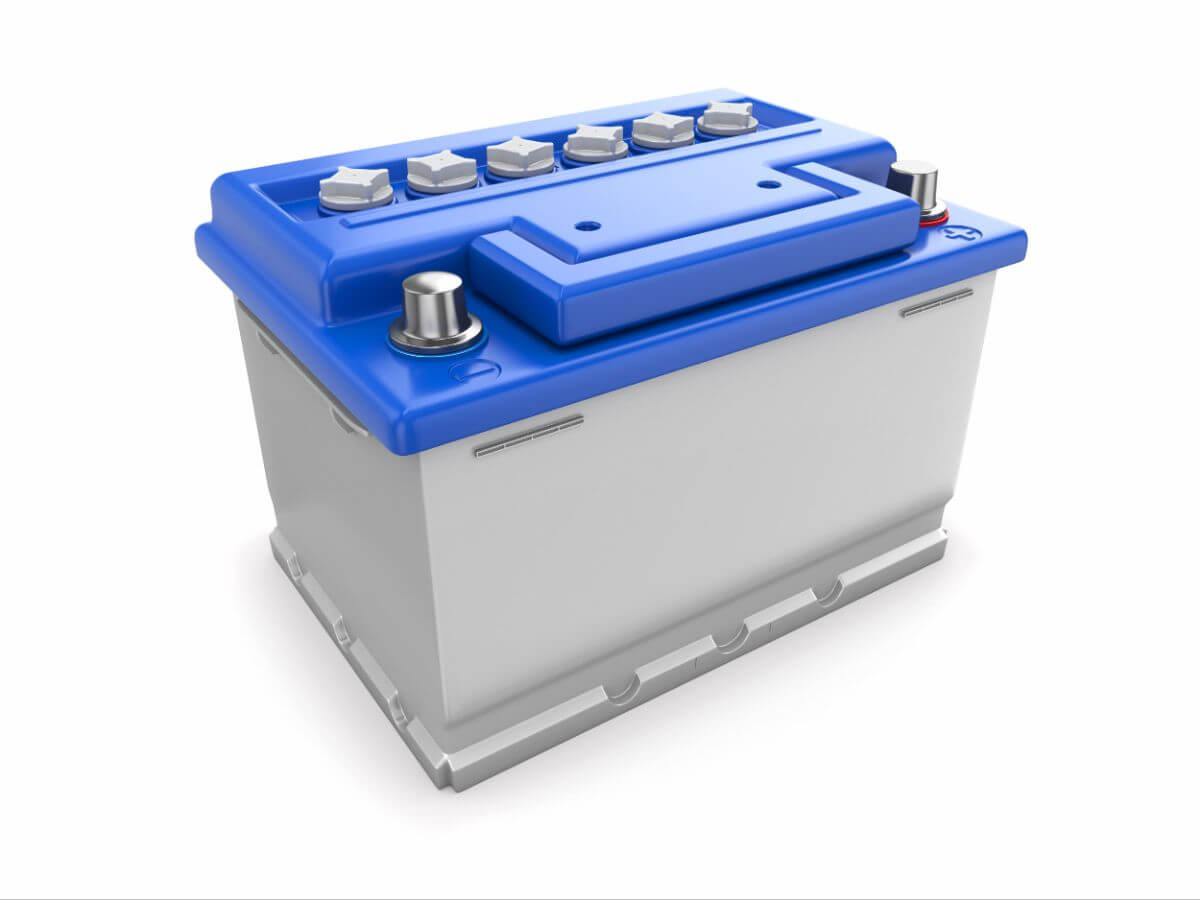
It depends on the battery type, but some of them don't like to be left idle for an extended period. For instance, lithium polymer batteries are delicate flowers that need to be stored under a certain charge, or they might be found dead after you attempt to awake them from a few months-long hibernation.
So make sure to check your battery, test it, charge it if needed. A good habit is to unplug the wires and clean the connectors properly - if that isn't done regularly, rust tends to build up on them slowly, especially if you sail in salt waters. And if you want to go all the way, treat the connectors with grease. It helps with possible future erosion.
If it is at all possible, consider having the battery hooked up to a trickle charger over the winterization. It is a device that charges the battery very slowly, at the same rate it self-discharges, keeping them charged perpetually.
You might be asking why to keep a battery charged if you aren't using it. After all, it can be simply charged once you start sailing again. The issue here is that if you let some batteries (such as the lithium polymer ones mentioned above) discharge below a certain point, they can't be charged back up, or they lose a significant chunk of their capacity.
Make Sure The Electronics Work
Once you have made sure the batteries are working properly, it is time to have a look at anything they power. You might have navigational instruments installed. Whether that is a GPS or depth meters, your radio has to work correctly too, as well as lights. Then there are speakers and entertainment components, fridges and other things people like to sail with, which aren't necessarily essential but test them anyway.
Most of the time, there is no reason for concern, but you never know what might have crawled in and chewed on your expensive cables. And this is one of those things you want to check way before you get on the water because once you are offshore, repairs get tricky.
Long story short, if there is something that needs a battery to run, test it, regardless of how often you use it.
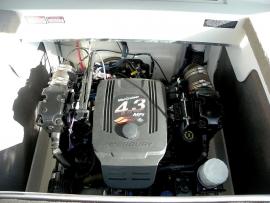
Prepare The Cooling System
Now we are slowly getting into the potentially messy bits. So put on some working pants that you don't mind getting dirty. Next on the list is the engine.
First, let's look at the cooling system. If you have filled it with antifreeze as a part of your winterization ritual, you have to drain it now. Then fill it again with a cocktail of antifreeze and water - fifty/fifty ratio tends to be optimal for the best taste. Just don't add olives.
How To Drain Antifreeze and Coolant From Your Boat Engine
Inspect Cooling Hoses
Since you will be on your knees anyway, have a look at the pipes and hoses of the cooling system. Though a proper winterization (which you have surely done!) helps with their longevity, this is the time to make sure they haven't cracked. Even just a regular usage causes wear and tear, so see this as an opportunity for a routine check-up and an eventual replacement.
Change The Oil
Continuing with dirty work, let's change the engine oil now. This is something many people like to do as a part of winterization so if you belong to the prudent ones, skip this step.
Nothing complicated here, let's move on.
Gas Tank Check-up
If you are performing the winterization process as diligently as it deserves, you are filling your gas tank with fuel and some stabilizer to make sure no moisture gets in during winter and that the fuel doesn't go bad. But in case you forgot, check if the fuel didn't go bad or that no rust has developed inside.
Engine Belt Inspection
The engine belt needs replacing now and then, and right after the winter period is an excellent time to check whether that might be the case.
This is a tricky one so here go a few telltales - look for a buildup of rubber dust, glazed or worn spots, splits, cracks, missing grooves. Squeeze and twist the belt, see if it isn't overly flexible. If you find any flaws, you know what to do. Luckily, this is not a pricey component to replace.
Fuel Lines Inspection
Check the fuel lines too. No matter the prudence, given the materials they are made of, fuel lines often suffer from cold, so if you do find cracks in them, don't blame yourself. There isn't much you could have done. But do make sure to replace them if needed, since leaking fuel lines on a boat would be a great opening for a tragic film script you don't want to be a part of.
Underwater Damage Assessment

That's it for the dirty parts. You shouldn't get your hands oily from now on.
Even if you did this step before winterization, check the underwater parts of your boat for damage anyway. It is probably out of the water, so this is a good opportunity to inspect the hull - easier done now than later when it needs to be hauled out.
Not all scratches and dents are a cause for panic, but it is good to know about them. The same goes for any other underwater parts like the propeller, rudder, or keel. Keep them in good shape.
About one-third of boats that sink have that happen to them because of hull damage. I get that most of the time, this is because of what happens on the water, not outside. But you never know what might have been knocked over on the boat while it was in storage - whether that was your garage or a boatyard.
Clean
I know, I know, you think this can be done any time and shouldn't be on this list. But be honest with me - when was the last time you got your boat a good clean in the middle of a sailing season? Exactly. That's just not the time. Unlike now, when the boat can't be used anyway and is probably close to a power outlet.
So get yourself a bucket of soap water, scrubs, and sponges and when you are done with that, vacuum clean all that can be vacuum cleaned.
It isn't just a cleanliness thing, though. I find a good cleaning session great for finding out possible injuries that your beloved vessel might have suffered. If you really get into all the corners, lift all the cushions, and have a close look at all the nooks and crannies, you will know about all the little cracks, scraped paint, and bits that might be coming off … and since you love your boat, you won't be able to resist fixing these, before they turn into an emergency.
So before you know it, a vacuum cleaner will be exchanged for a spray paint can and a screwdriver. The downside is that what should have been thirty minutes will become a few hours long thing, but your boat will be looking like new every season.
Polish The Brightwork

Poor-looking wood is one of the first signs of an ageing boat - and one of the easiest to fix. Waxing, oiling, and polishing it will undoubtedly help with the aesthetics. But just as was the case with the previous step, this isn't just a vanity matter. Instead, it gives you a chance to maintain the moldings, to make sure there is no mildew accumulation, simply, it helps you inspect the boat exterior and keep the little damages in check before they become something more significant.
They say the devil is in the detail and this is the way to find it.
Equipment Check
This point is mostly related to the safety gear that should be on board. Have the proper amount of life jackets, first aid kits, fire extinguishers, flares, sirens …
I get that it is not as exciting as whatever it is you got into sailing for, but it has to be done, and it is a good idea to make a regular habit out of it so that you can sleep the rest of the year calmly.
Even if you are sure you will not get into a situation where you or anybody else on board would need to use safety gear, there are places in the world where this kind of equipment is mandatory. The laws around this are ever-changing and for example, in the US differ state by state, so it is tricky to give you a precise list. But there are countries where you can easily be charged a thousand dollars or even be put to jail for violating floating device regulations, for instance.
Inspect Your Tow Trailer

This step isn't for everyone, but if you own a trailer and tow your boat to go sailing, don't overlook it. Just as you do regular car check-ups, you should perform regular trailer check-ups. It's a fast and straightforward process, worth the three minutes it will cost you, and it can save you a lot of trouble. Picture a faulty tire that gives up while the boat is doing fifty miles an hour on a highway. That poses a danger for your boat that would likely be demolished in such an incident, as well as for your car and ten others who will be unlucky enough to be around at that moment.
A tire that hasn't moved for months and there has been consistent pressure on the same spot for the same time isn't exactly reliable if it is a few years old. So check the tire pressure, check that the wheels turn as they should, check the turn signals and brake lights, and when you start driving, drive the first few hundred meters slowly.
An Extra Bonus Step…
... is to go slow once you get in the water. Don't rush it and spend the first fifteen minutes just cruising leisurely, re-checking the boat again. Some issues don't become visible until you actually start sailing, so make sure you are in a calm situation, should they surface.
Not that this is the article's main agenda, but I shouldn't forget about the pro way. If you want to reduce these fifteen steps into one, look up 'spring boat service' in your area and call them. For a fee, they can take all this work off your hands.
So there you have it. As mentioned before, this might be a simple, one-day agenda, which doesn't take that much skill and energy, and it gets rid of much future trouble. And after all, it will be a pleasant day. It is your boat we are talking about, so tinkering with it can be nothing but pleasure.
Stay safe out there, fair winds to you all.
Did you find the answer to your specific question?
👍 0 👎 1
Leave a comment