How To Mark & Measure Anchor Chain & Rode (3 Ways)
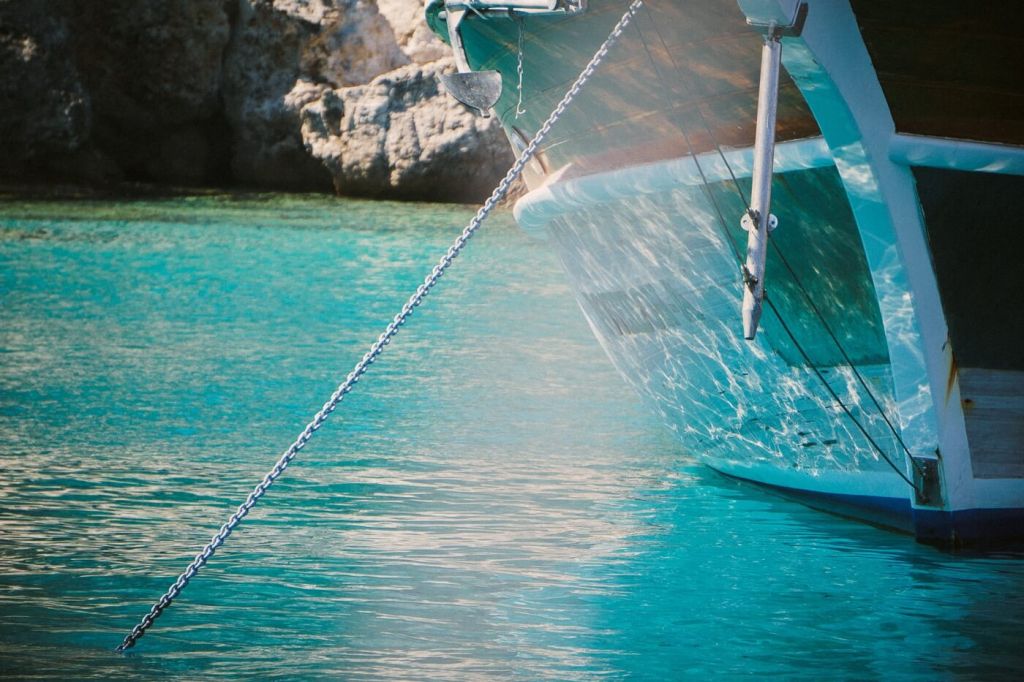
A well-set anchor means a good night sleep, and to set an anchor well you need to know how much scope you've got out. How can you know how much chain you have out? You need to mark the chain so you know.
How can you mark and measure your chain? The best way is with chain markers or paint, using a marking system to tell you at a glance how much you have set. In our experience, cable ties are a poor way to mark anchor chain. When using a mechanical chain counter system, be sure to mark your chain as a backup.
If done right, you can tell at a glance how much chain you have out as long as a mark is visible. Below I'll go over the pros and cons of each method. I'll also explore the different marking systems you could use.
On this page:
Physical Marks on the Chain
The challenge of marking a chain is putting marks on that stay put from season to season. If you spend hundreds of nights per year at anchor like we do, any marks will take a beating but even casual summer anchoring can make them harder to read.
Visibility of the marks in a variety of conditions is an important consideration as you figure out how to do this. Not all anchoring is done at high noon in crystal clear water. If you're pulling the hook at night or setting after a late arrival you'll want to make sure you can read them in the dark.
Chain Markers
We've had our best success with chain markers - specifically the "Chain Rainbow" markers from Osculati (Imtra has a similar product). They are sized to fit tightly inside chain links and do not foul the gypsy on your windlass. They come in an assortment of colors useful in a marking scheme. In seven years of anchoring out almost nightly, we've lost one that we're aware of. The only trouble we've had is with discoloration, in particular with the white markers which quickly turn dark and blend with the chain.
You can get the Chain Rainbow at Amazon here (click for current price).
Other physical markers include plastic strips with numbers on them. Some have used strips of spinnaker cloth tied in the links. The key to any of these is that they don't catch in the gypsy as the chain moves. Catching will rip the markers off or worse, jam the windlass. These are better options for rope/chain hybrid rodes, as the strips can be woven into the three strand line.
Paint
Paint is a popular method, though it is more prone to wear and will typically require refreshing as frequently as every season, depending on how often you anchor and where.
Several types of paints can work, with spray paint being the quickest and cheapest but also the least durable. For better results, try an epoxy-based metal paint or something thicker you can apply with a brush. Also consider using a primer on a clean metal surface.
Surface preparation is key no matter which paint you choose. New, bright galvanized chain adheres best, but even then a pre-application of vinegar to lightly etch the coating, or a light sanding will improve adherence. Older chain should be cleaned with a wire brush or lightly sanded to remove surface oxidation and buildup before applying paint.
Cable Ties
Cable ties have been a popular recommendation, but they deserve their own paragraph since they are such a poor choice.
We've tried them, and they do not stay on well. Our first plan was to paint, then put matching wire ties on the paint spots in case the paint wore off. But every single wire tie broke off long before the paint became hard to read.
If you take care to turn the connector of every cable tie inside the link you may get more wear from them, but they still abrade when run through a gypsy and will fall off in time. In our experience, they barely last a single season - an experiment we didn't repeat.
And when they come off you've added another bit of plastic waste to the ocean. So while you can mark a chain with cable ties and it's quick and easy, you're better off taking more time to do the job so it lasts.
Chain counters
Chain counters are mechnical devices which count the links in your chain as they pass the windlass. They don't mark the chain, but they can provide a reliable measurement of how much chain is out. Marking as a backup is still a good idea.
Marking Schemes
Marks only matter if they give useful information, so thought needs to go into how you will mark the chain in a way that makes reading it easy and reliable. No matter what you choose, make sure that there's a very visible mark well before the end of the chain so you don't accidentally let it all out!
Single Color Markings
The simplest system is to put a single mark at a set distance (twenty-five feet, ten meters, etc.). As you lower the chain count the marks as they pass. The downsides to this are that if you lose count you're in trouble, and you can't tell from looking at any one mark how much more chain is still let out.
Adding multiple marks at each measurement unit can help with this, since you can count the marks as they pass. But this is still prone to errors, as you can miscount hash marks as your chain rattles past. More marks get harder to count as they take up more space on the chain and more time to read.
The major advantage to single color markings is simplicity and cost - you only need one can of paint. But it is not the most effective method.
More Complex Color Schemes
An ideal marking and measuring scheme will allow you to tell exactly how much chain is out by seeing only one set of marks. There's no counting, and you don't have to remember how much you put out. You can just look, even sitting at anchor.
Our System - "Poker Chips"
Since we're American, we mark our chain in feet out of habit. We use the aforementioned chain markers and paint when we can.
Poker players are familiar with the white/red/blue system of using chips to denote units of cash. Instead of nickel/dime/quarter (or $1.00/$5.00/$20.00 for you big spenders!), we use 25ft/50ft/100ft with the marks, working from a base measurement unit of 25 feet. After a year or two of use, we learned that the white (and yellow) markers discolor so we replaced the white with bright green.
- Green (white)= 25 feet
- Red = 50 feet
- Blue = 100 feet
This allows us to designate every distance from 25 feet to 175 feet with just three markings, and up to our limit of 325 feet with no more than four marks.
Chain is always marked in white/red/blue order, though it doesn't really matter since a color won't repeat until you get past 200 feet. Just add up the markings to get the number. For example:
- Green-Blue = 125 feet (25+100)
- Red-Blue = 150 feet (50+100)
- Green-Red-Blue-Blue = 275 feet (25+50+100+100)
And so on. One look at any mark shows you exactly where you are on the chain, no guessing.
Other systems
Our system works for us, but there are many approaches you can take. If you use meters or fathoms instead of feet your job is a little simpler since you're counting whole units instead of adding feet, but any system that lets you use fewer marks that are easy to recognize and interpret will work. You don't want something so complex you have to carry a laminated card up to the bow with you, it should be easy to remember and use.
Part of what you choose will also depend on how much detail you want on your depth. For us, twenty-five feet is close enough for comfort. Some are fine with fifty foot intervals or more, some want markings every ten feet.
Doing the Marking
Marking the chain has always been more work than we expected. Chain is heavy, and it drags on things and is hard to pull across a flat surface - it's doing its job, right? You'll need space to work, either a dock or parking lot. Even new chain coming from a barrel takes a bit of labor because you've got to stretch it out.
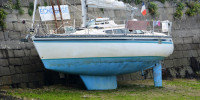
We've found it's easiest to do when the boat is out of the water, but that's not always possible if you live at anchor.
Start by measuring out your "unit" (25 feet, ten meters, five fathoms, etc.) on your workspace and marking it on each end on the ground. If you're painting, spread out boxes or papers at each mark to protect the surface.
Then pull out the chain, putting the anchor at the first mark then stretching it out straight between the marks, turning it at each mark to measure each "unit" while flaking the chain back and forth on the work surface.
Make sure the chain dries completely if you’ve used it recently, then make your surface preparations. Then you're ready to mark - paint first, then insert your markers if you're using them. A little water helps work them into the links.
When marking, don't be afraid to make the marks big. You'll be looking at them from a distance, and in dark or overcast conditions. When painting, we cover at least 4-5 links with each mark.
We also apply four chain markers at each mark, in case one falls out and because links connect to each other at right angles. Looking at a link edge-on, you can't see a marker inside the link so a second marker in an offset link guarantees visibility no matter which way the chain is oriented to you.
Did you find the answer to your specific question?
👍 23 👎 3

Comments
jill
Holy advertisements. I gave up on trying to read the article because the ads kept getting in the way. Every time I tried to close one, I had to re-adjust the zoom on my screen and find where I left off again. Just letting you know
Leave a comment